
The first thing someone will notice when walking into a room is either going to be a perfectly placed picture or a picture that just doesn’t seem place correctly. After reading this guide your room will
The key to hanging a picture is selecting the right method & placement for the size of pictures and frame you are hanging on the wall. For very small and light pictures a nail might work. For heavy pictures and frames other methods will be required such as wall hooks & bolts.
All this will be a little easier with someone else so grab a friend or partner and let’s get to it!
In This Article We'll Discuss
What You Will Need
- Measuring Tape
- Pencil
- Hammer
- Painters Tape (optional)
- Level App or Tool (optional)
- Nails, Command Strips, Monkey Hooks, D Rings, or Toggle Bolts (explained below)
Does Your Picture Frame Come With Hanging Hardware?
A majority of pictures frame come with pre-built hanging hardware. The most common are sawtooth brackets, wire frames, and pre-drilled holes to instead hooks or screws in.
For smaller frames sawtooth brackets work fine. For larger picture frames a wire on two d-hooks works better. It offers more support and makes it easier to level. For oversized frames the wire allows you to add several wall hooks,anchors,e.t.c for more support.
D-rings will have the picture laying flat against the wall. The sawtooth bracket will have it popping out slightly.
Recommended Read: The Standard Frame Sizes For Pictures, Photos And Art You Should Know About
5 Best Picture Hangers
Hooks

Hooks are the most popular way to hang art. They are best suited for light art especially if you are using nails. We’ve used nails plenty of times and it works for small light pieces. They’re the easier and quickest way to hang a picture frame. Many unique products exist today to hang
If using one hook for a light frame just place the hook approximately 57 inches from the floor and keep adjusting picture left and right. We recommend always using at least 2 hook to keep the frame level over a longer period of time. Use a leveler to make sure the hooks are the same height.
D Rings

D rings are popular on heavier photographs, art, and mirrors. They can be used with Screws and nails on to a frame and wall. They both work well. They will have the frame laying flat against the wall and can hold a good amount of weight.
Pull the wire with taut temp and stretch it out as much as possible. Note the distance that the frame will hang. Transfer the measurement to the wall so you know where the
Sawtooth

Sawtooth hangers are the most popular option. They are easy to use and work well for light and small frames and pictures. It is not recommended for heavier frames as the sawtooth can get pulled out by the weight.
Center the bar and tap it in with nails. Place the nails in the wall. Make sure they’re level using an iphone app or leveling tool. Please the frame on the wall.
Wire

Wire is the next most popular option for hanging picture frames. Wire is used with d-rings or other hooks on the sides of a frame. Make sure not to put it to tight and give it some slack so the frame hangs easily.
Command Strips

Command strips are a good option for lighter pieces of work and sometimes medium weight picture frames. They’re very easy to use and typically won’t damage the wall. They’re a good idea if you are in a rental and don’t want to worry about patching the wall when you move out.
All you have to do is peel back the strips and apply them to the frame. Clean the wall then peel back the other strip and stick it to the wall. You can adjust by pulling the strip back from the wall and attaching it.
Whichever of the methods you use, we recommend you use two hanging points for hanging picture frames. It will make it reduce the chances of the picture frame falling off or getting
How Many Pictures Are You Hanging & What Method Will You Choose
The first step in hanging a picture is deciding how you are going to hang it. What you need to take into consideration is the size & weight of the picture and the damage you are willing to do to the wall. If you are in a rental it may be a better idea to choose a method that won’t damage the wall to prevent having to patch it later. Also consider the wall material.
There are various tools you can use to hang pictures. For most a screw and wall anchor will be enough. To be honest, I’ve hung so many pictures only using nails and it’s worked out fine..for the most part. It is better to play it safe and use something other than nails to prevent it falling down and causing damage to the wall.
If the picture is small you can mostly get by using one hook/screw. If it is medium sized you will need two. The different tools for hanging typically come with weight recommendations. An easy tip for weighing large picture – weigh yourself then carry the picture and weigh yourself holding it then subtract your weight.
For heavy pictures with frames you can use wall hooks, bolts, or a good amount of command strips. The wall hooks and command strips can work for most pictures. The command strips do the least damage to the wall. Next, are the wall hooks. Lastly, the bolts will do the most damage.
Arranging Pictures On The Wall
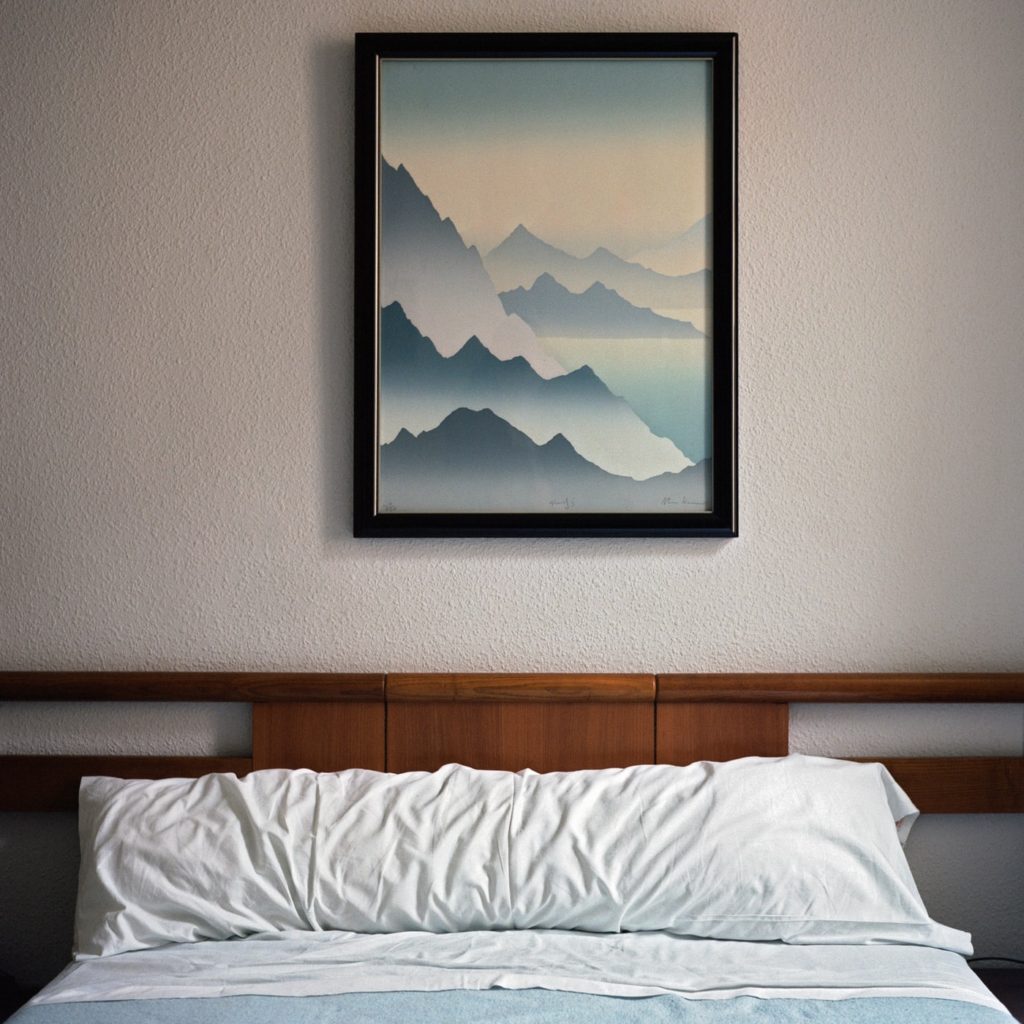
The best height to hang a picture is at eye level. This is about 57 inches high. If you have furniture or a console table (hallway table) the picture will look fine higher up. Typically, you can go up 3”-6” from the height of the furniture.
Next, you can use painters tape to line out where the picture. If you are doing a picture gallery this will be very helpful in making sure you get it right. This will prevent you from making unnecessary holes in the wall. Layout the design you want on the wall and make sure it’s perfect before you start making holes.
Once you have a layout you can begin hanging. There are plenty of apps for your phone to make sure you picture is level. If not there are plenty of tools that can do this for you sold online or at hardware supply stores.
Photo Gallery
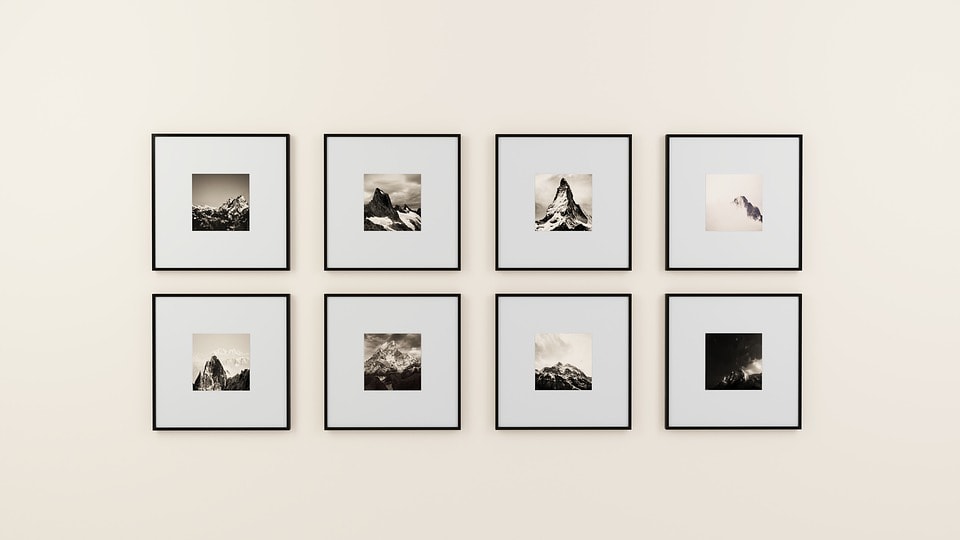
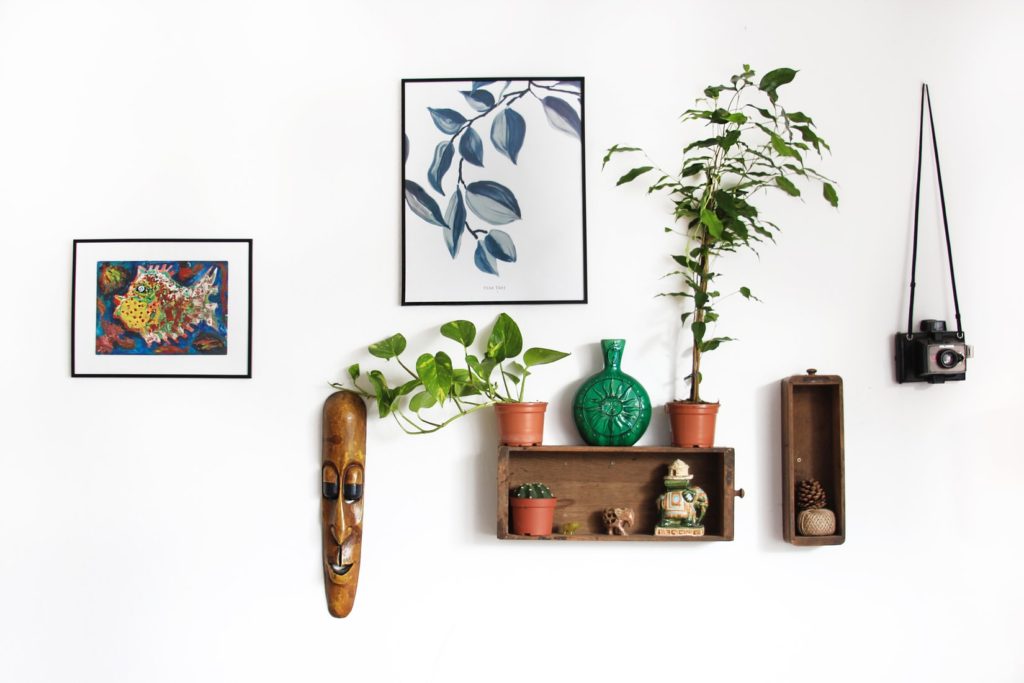
If you’re making a photo gallery you can either mix and match frames or purchase a premade set. If you want to mix and match on your own there are a few ways to make it easy for you. One method is to stick to a theme. Do you are shabby-chic distressed frames? Pick a few of those of different sizes. It makes it easier to keep it cohesive when sticking to the same material.
If you want different colored frames, layering neutrals is another option. Pick a color family and use a color wheel to see which frames will go together. Don’t forget about the color of the wall and decor surrounding the picture frames and wall gallery.
Conclusion
You are now ready to hang any time of frame in any style you want. If you have any questions feel free to leave a comment below so we can get back to you. What is your favorite way to hang a picture frame?
I like that you said that to keep pictures at eye level and to keep it higher than furniture. My wife wants to add more pictures in our living room to liven it up and make it more of our own. We’ll be sure to use these tips when we start framing some of our family pictures.