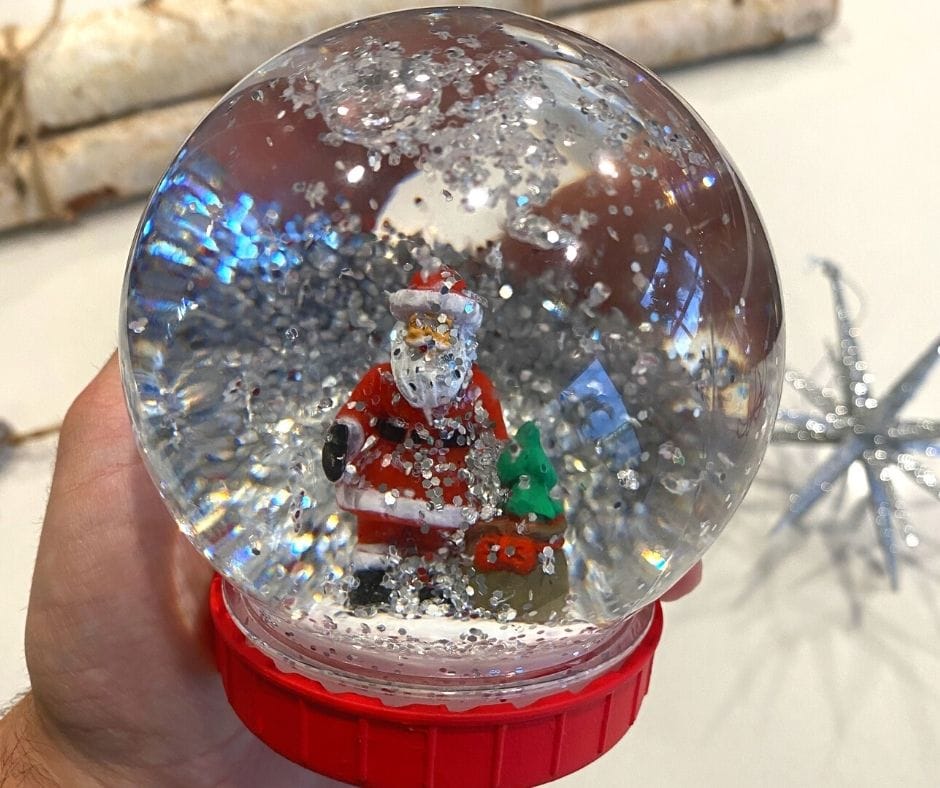

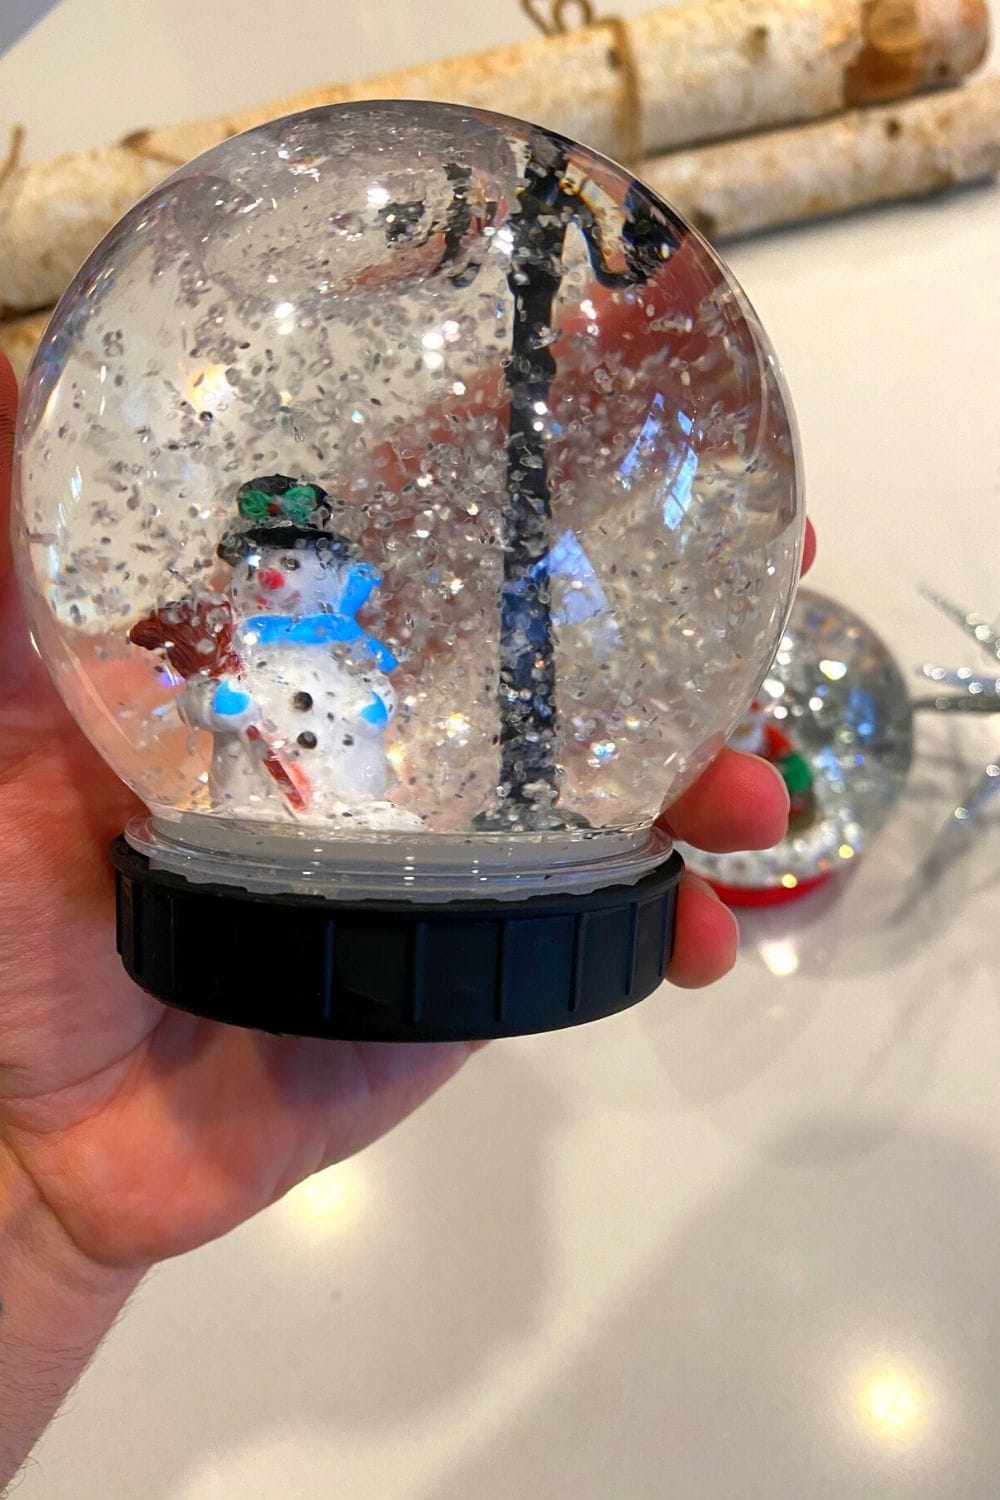
I’m not sure there is nothing that captures the spirit of Christmas better than a snow globe.
Feelings of nostalgia wash over me remembering the wonder the filled me with when I was a child.
I’ve never made snow globes before but when I was browsing around dollar tree I saw some empty containers that were perfect for making them, I knew I had to try.
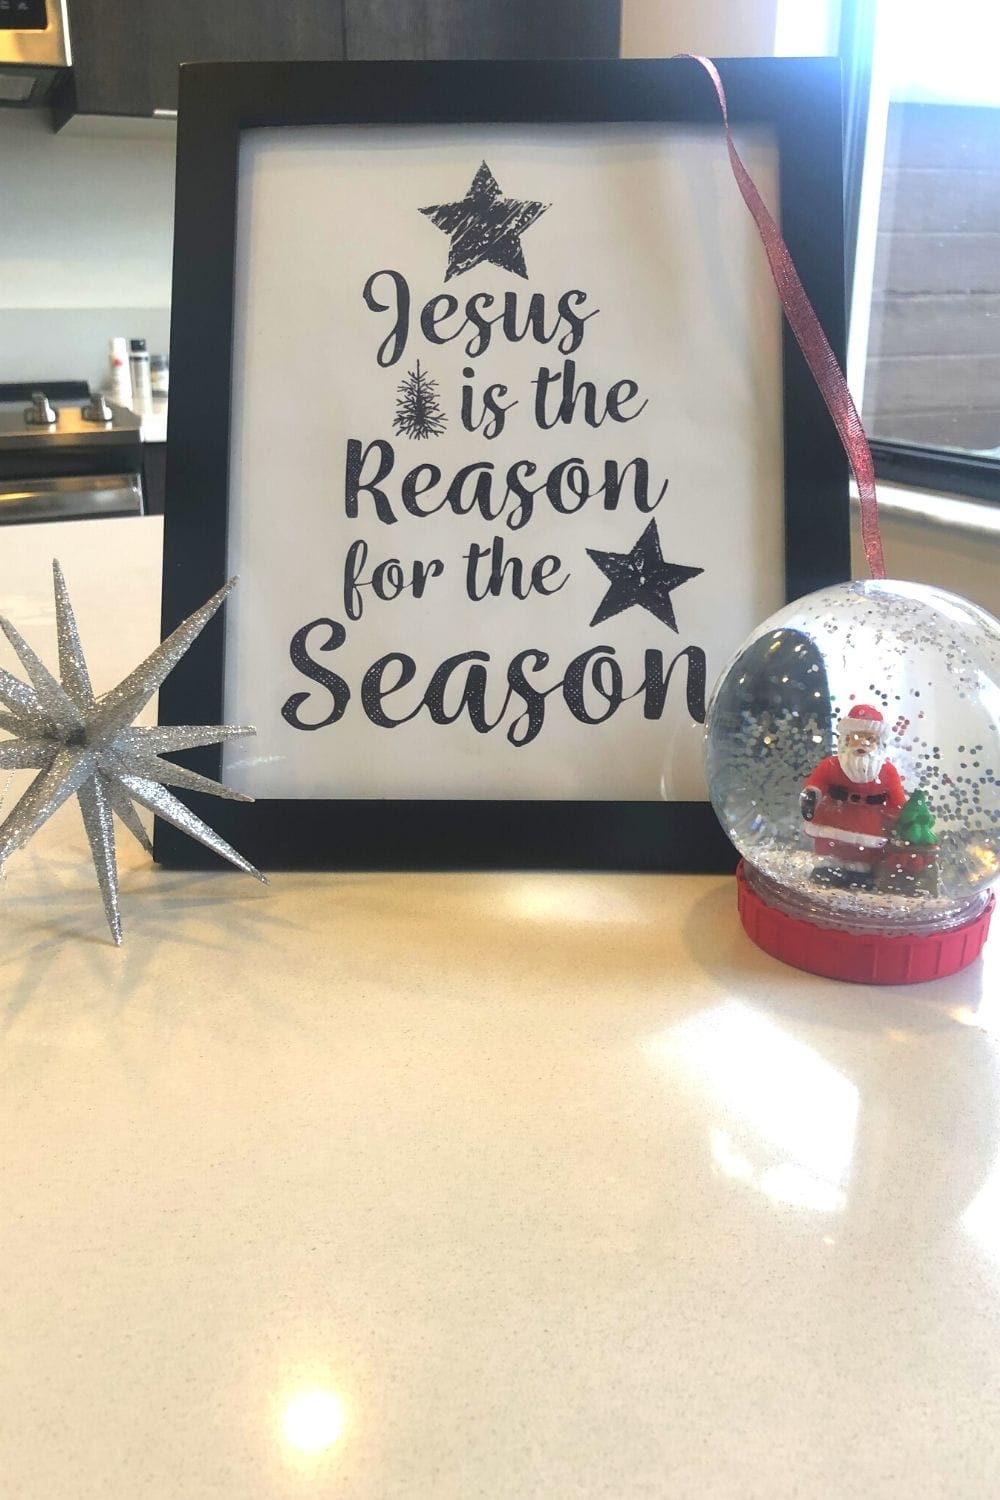
You can get everything you need from the dollar store, Walmart or any crafts store. They’ve pretty cheap to make coming in at $4-5$ each depending if you already have some adhesive to hold them down. Even less if you have paint and glitter on hand.

In This Article We'll Discuss
What You Will Need
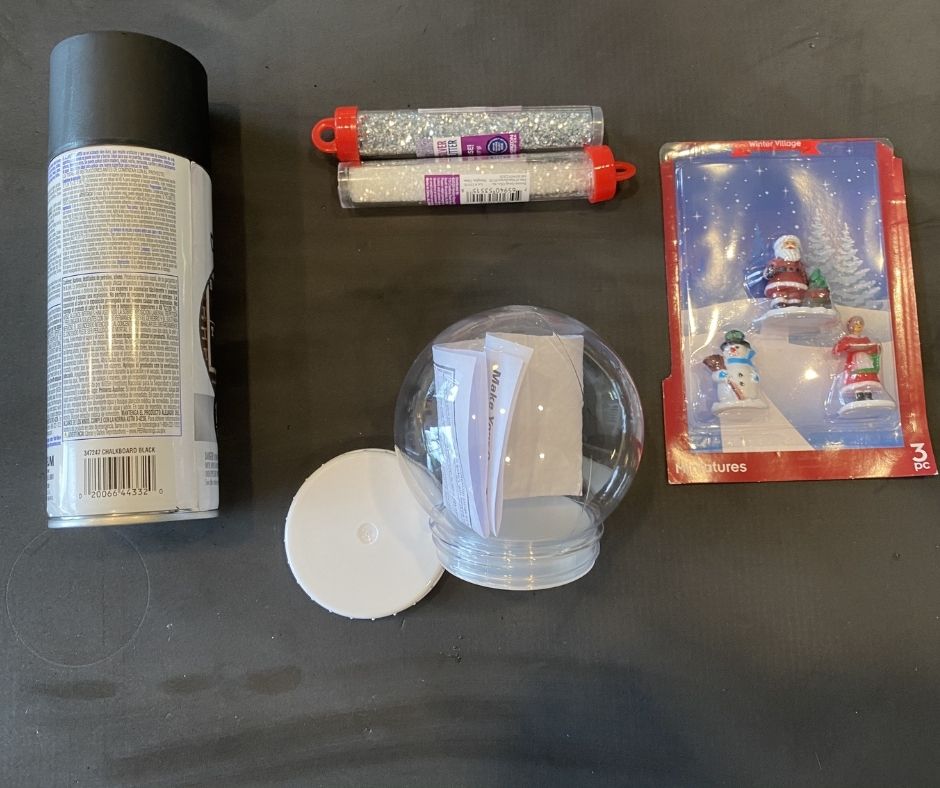
- Plastic or glass containers – The dollar store had some plastic snow globes ready to be made. Make sure you purchase a container that can properly be sealed so water doesn’t leak. Small plastic might not be appropriate unless you waterproof them.
- Glitter – I used white glitter and silver glitter. You can get quite creative here and even mix different colors for varying effects.
- Glycerin – this just need to be added to the water so the glitter doesn’t clump up. You can find it in the pharmacy section of most stores.
- Figurines– The dollar store had a 3 pack for 1$ which I used. Be careful using metal figurines as they can rust. It might not look bad if you’re going for a rustic and worn look though.
- Acrylic paint or spray paint – I spray painted the lids that came with the dollar store globes to give them a finished look. This is optional if you already like the color lid your container comes with.
- Water proof adhesive – The last thing you want is your figurine coming loose and floating in your container. I used ultra strength outdoor waterproof hanging strips.
Steps
Step 1
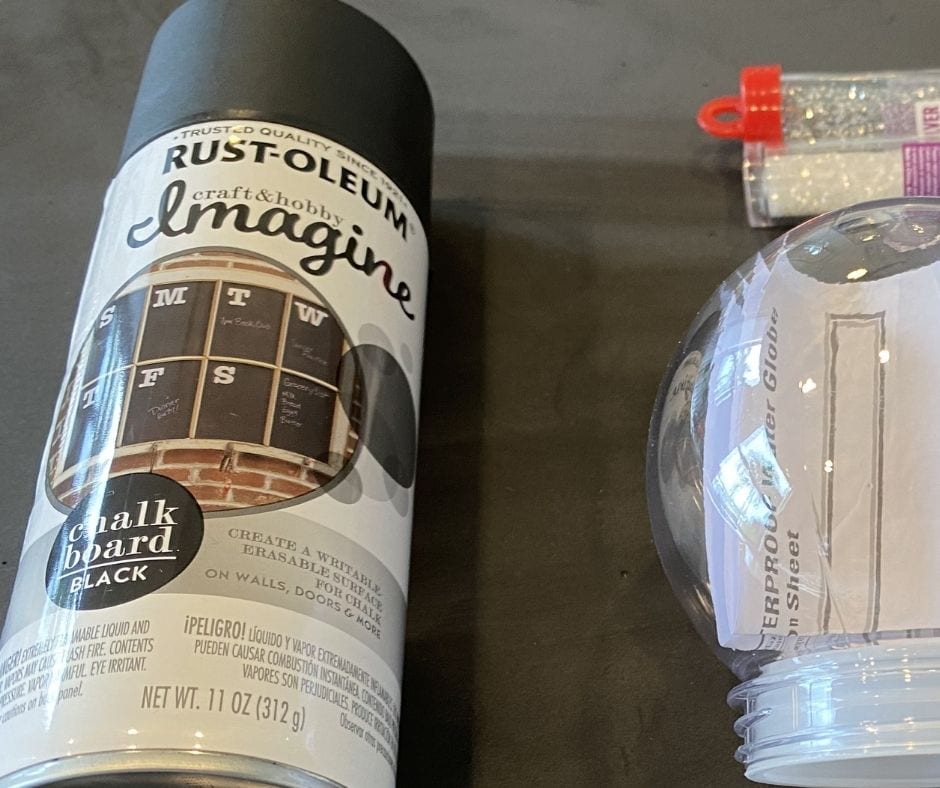
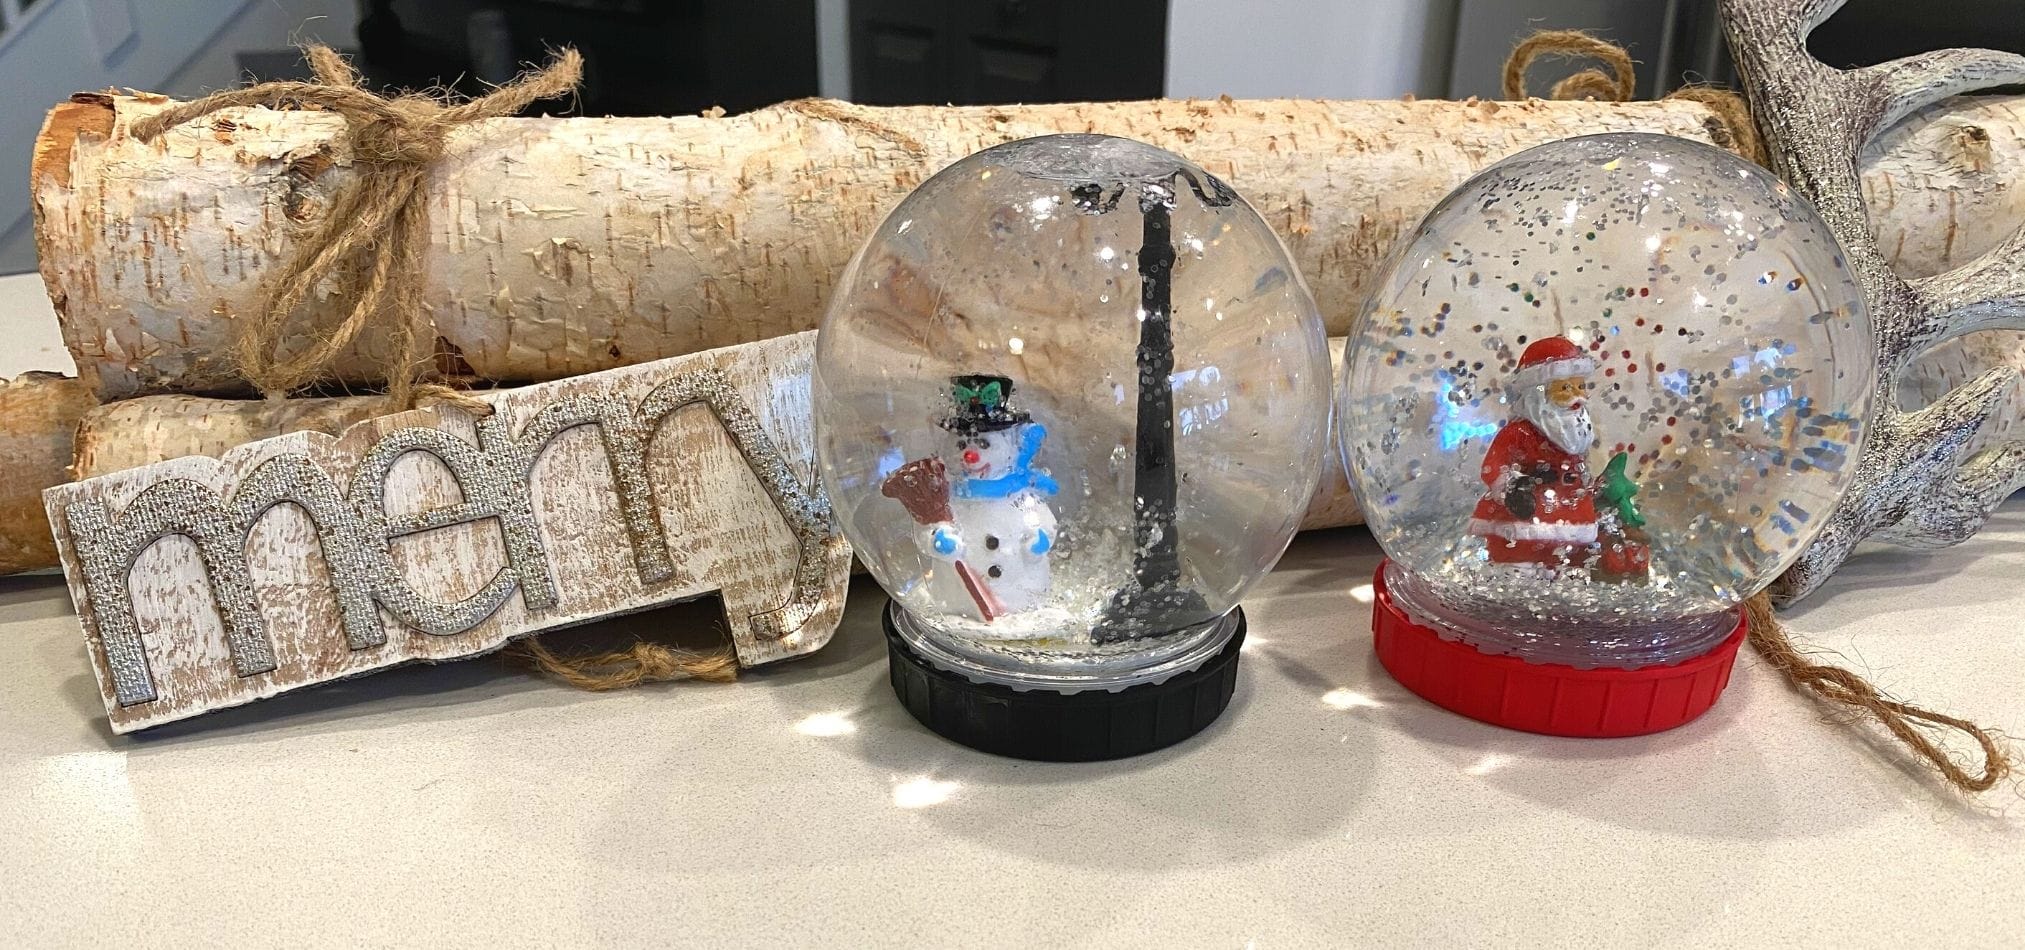
Start by painting the base of each of your snow globes if you decide you want to do this step. For the black base I spray painted it using black chalkboard style paint. For the red base I used a red acrylic paint and a sponge brush. When it comes to acrylic paint and plastic the secret is layers. You’ll have to go over it a few times to get a finished ever look.
Step 2
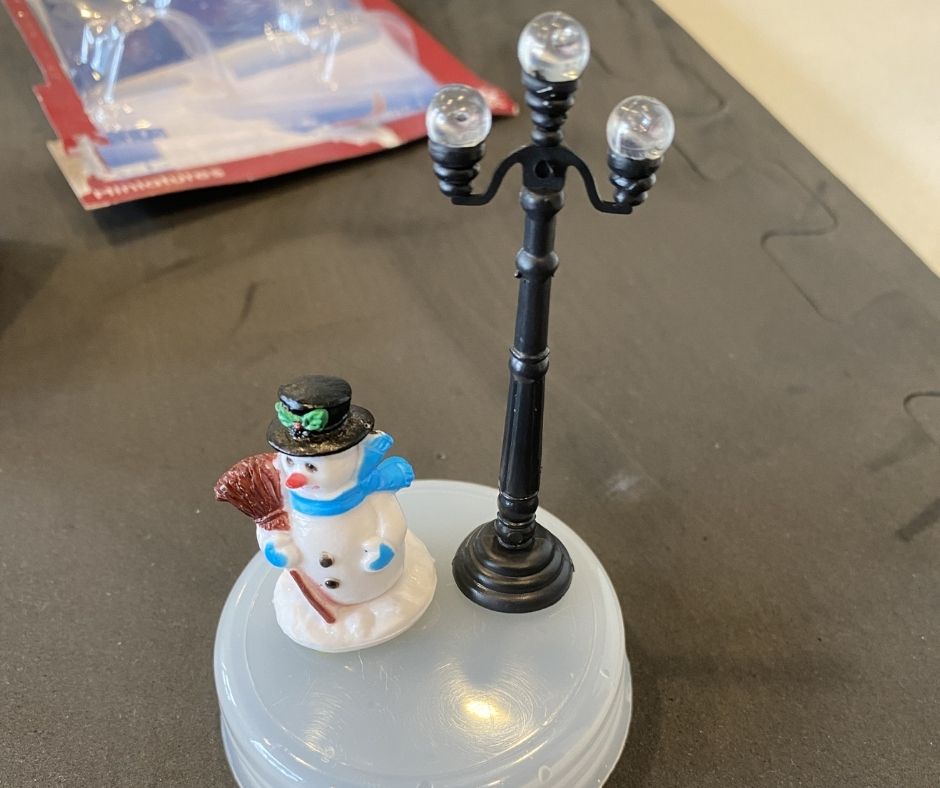
Next, use your adhesive so glue on your figurines on to your base. Follow the drying instructions before adding any water to ensure a strong bond. Be mindful that your adhesive works with the materials you are using like plastic and metals.
Step 3
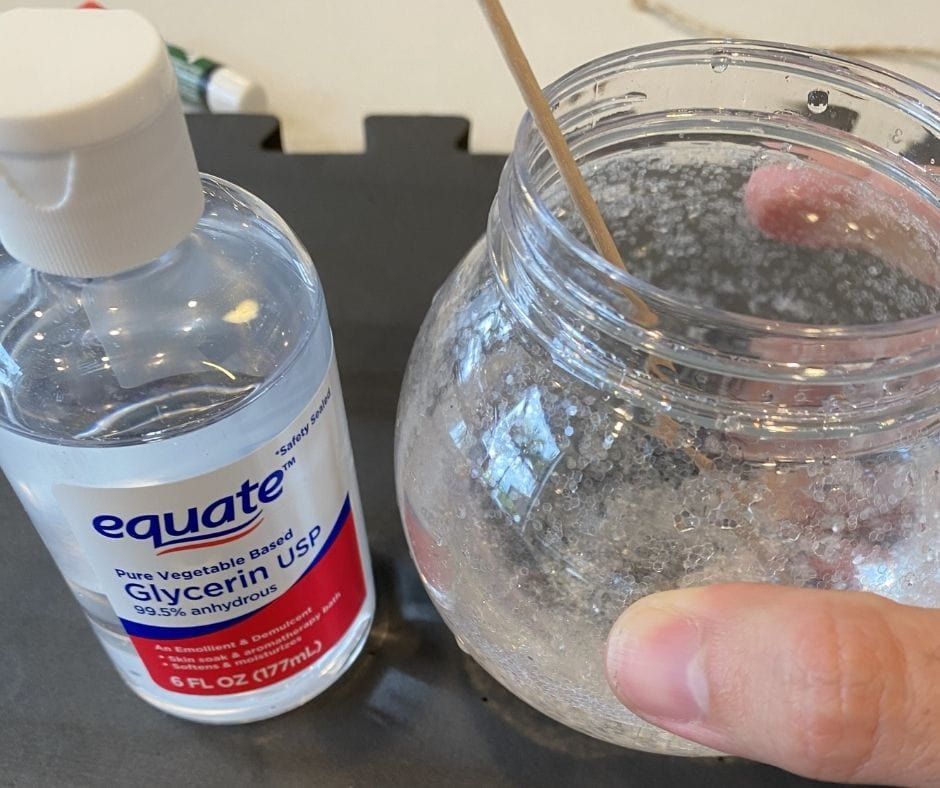
Start mixing in your water, glitter and glycerin in your container and mixing it well. The glitter make look clumpy at first but after a day or two they start to settle better because of the glycerin. I just used about two squirts out of the bottle.
Step 4
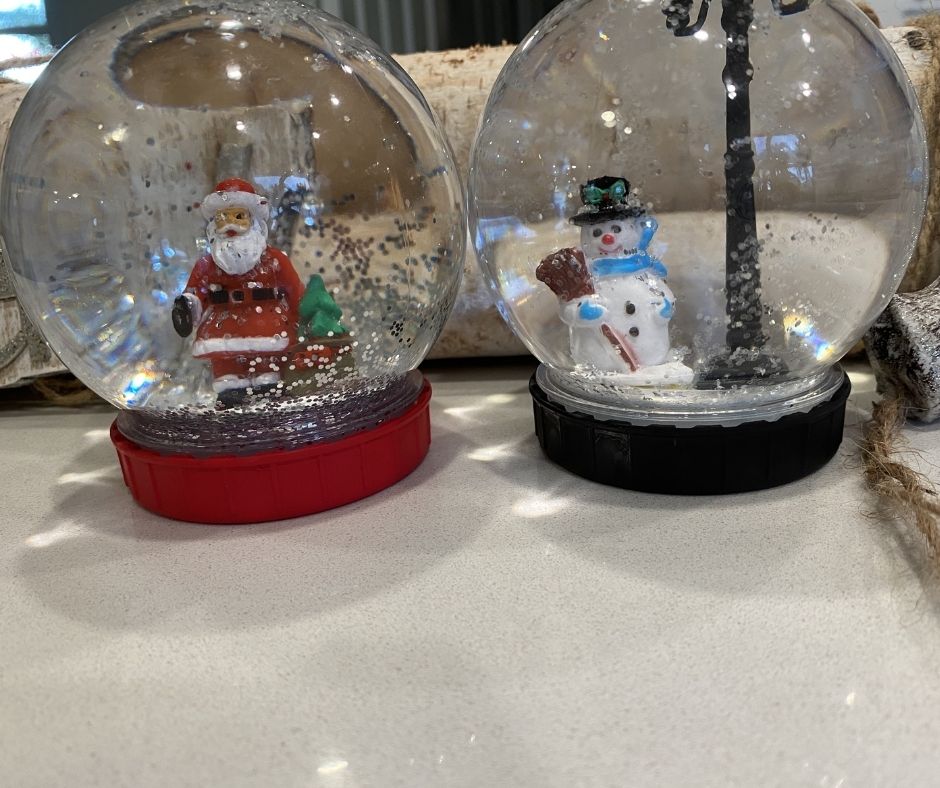
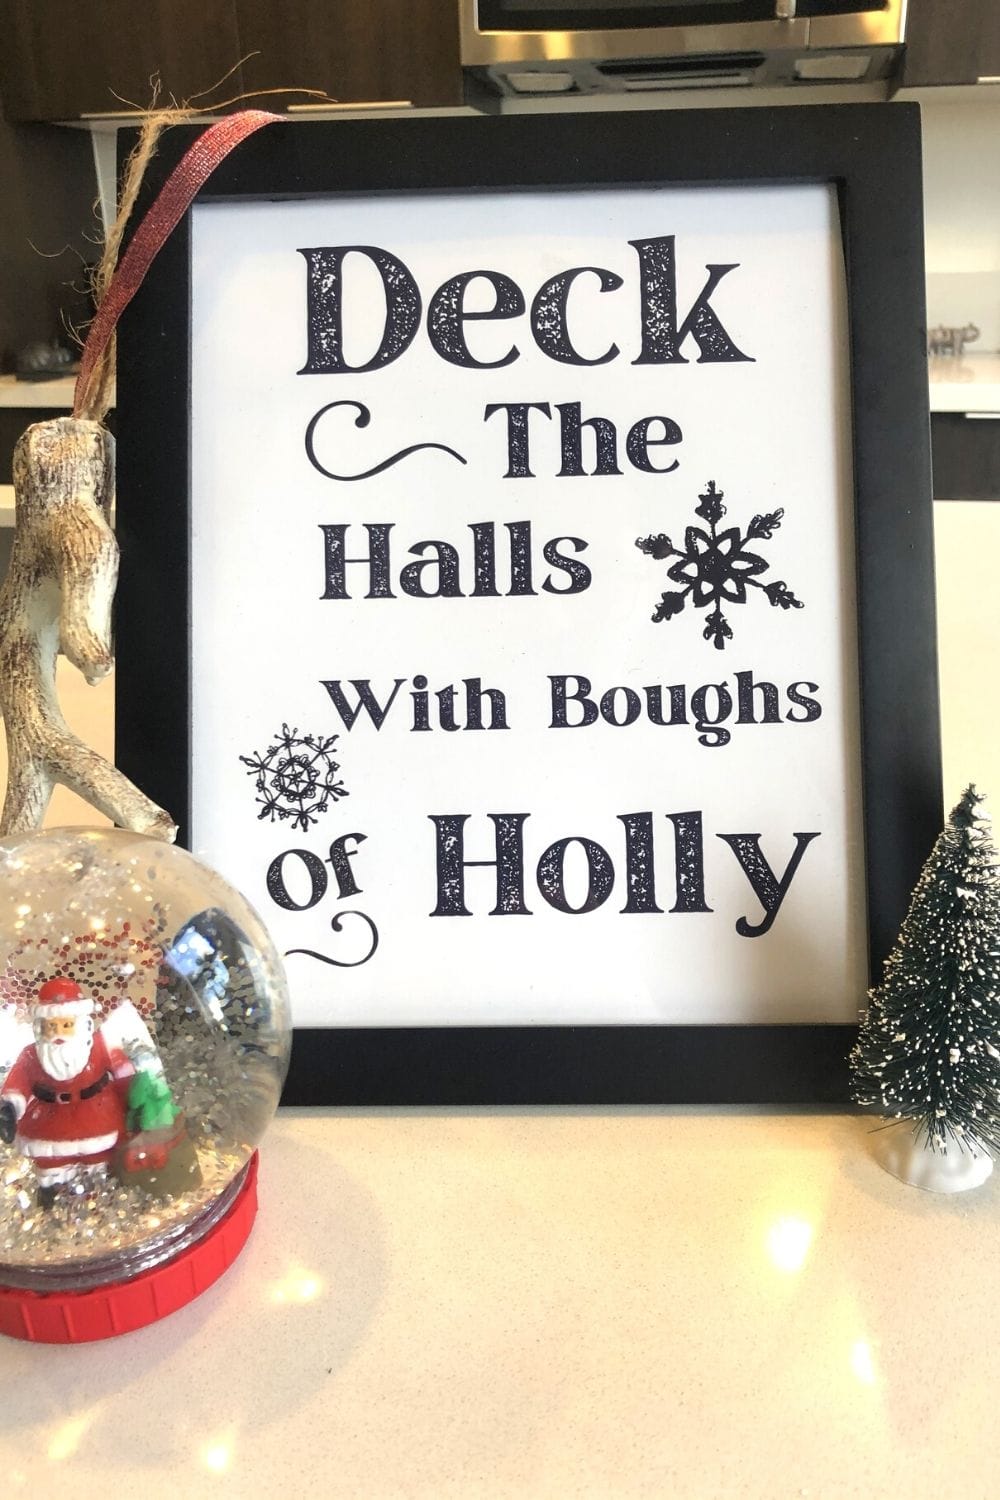
After your paint and glue have tried it’s time to put your snow globe together. Make sure you put in as much water as possible. This will make your plastic snow globe hard and feel like it’s almost made of glass. If you add to little it will be soft and won’t feel as refined.
From all of us at swankyden.com we really hope you enjoyed this cheap & easy DIY snow globes. We wish you, your family and loved ones the best for this and every holiday you share.