
If you’re looking for an informative guide on how to dye wool, you’ve come to the right place. In this article, we’ll break down the exact steps you need to take to dye wool. We’ve condensed the process into three easy steps. By the end of this article, you’ll be a master at dyeing wool!
In This Article We'll Discuss
How to dye wool (step by step guide)
When it comes to dyeing, there are three key steps. You’re going to want to prepare the wool, apply the dyes, and then rinse the yarn. I’ll break down each one of these as we go. Before dyeing your yarn, be sure you read how to protect it from shrinking.
Preparing the wool
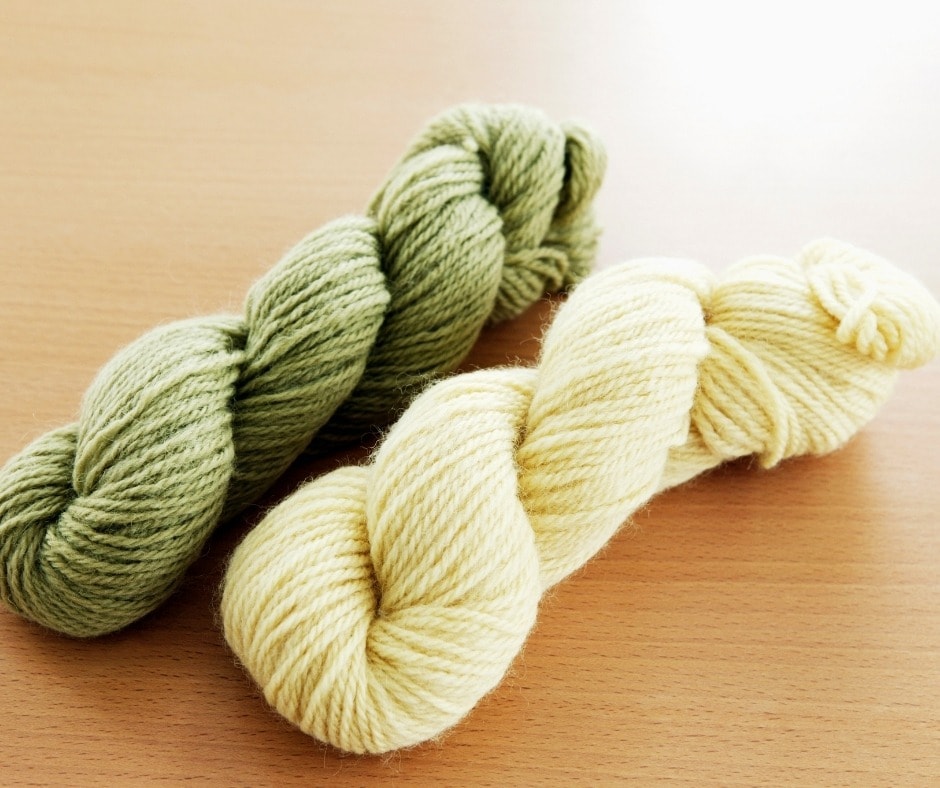
The first thing you need to do is bundle the wool into a ball. People call this ball a ‘cake form’. You can do this in two ways. The first of which is by using a machine that does it for you. These ball winders will bundle the yarn into the right shape.
If you don’t have a ball winder, you can simply wind the wool around your hand. This will be looser than the machine, but will still be tight enough. Once the yarn is in this ball form, make sure to tie the two ends together. If you can, squeeze the ends down, helping to bind them completely.
Once you have the right shape, put water into a pot with a quarter cup of vinegar. Any vinegar will do, but I tend to go for transparent kinds. Put the yarn into this water and bring it to a medium heat. You want the water to be just above warm.
Leave your yarn in the water for a few minutes. You’ll know it’s ready when the yarn is completely saturated. You want it to have absorbed as much water as it can. This process can take up to thirty minutes
While it’s absorbing, you can make up your dye solution. Add one teaspoon of dye to one pint of water. Before handling dye, make sure you have some safety equipment. Gloves are a good idea. If you’re using powdered dyes, consider getting a dust mask also.
Applying the Dyes
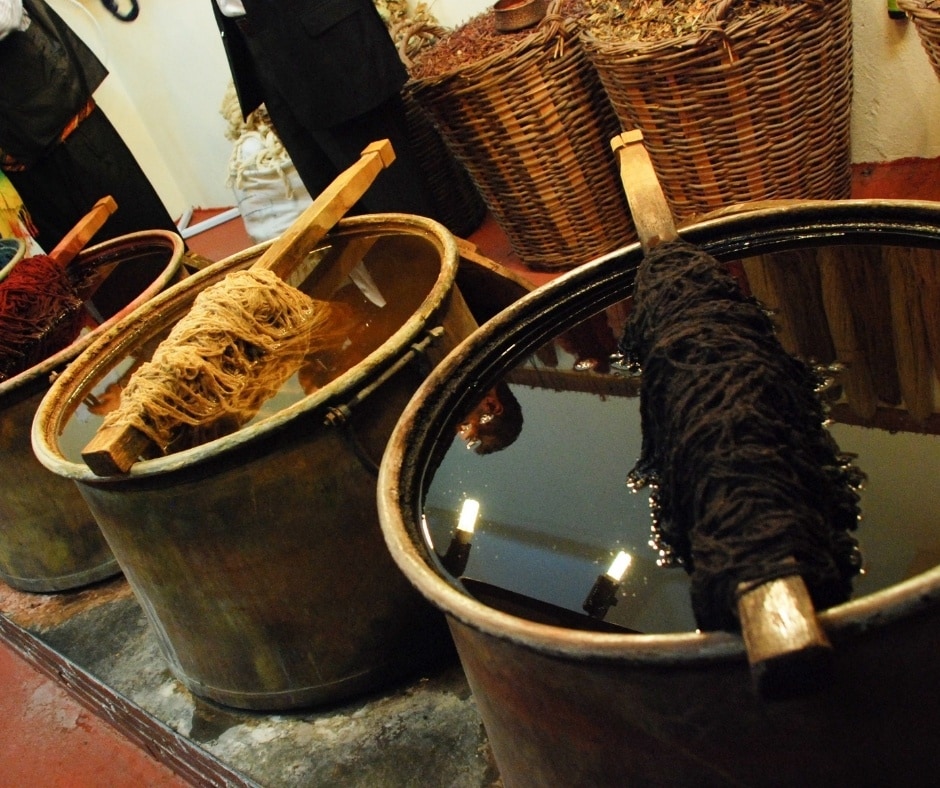
Next, we are going to begin the dyeing process. Once your wool yarn is completely saturated, remove it from the pot. Squeeze the wool, making sure to get out all the excess water. It will be damp, but there should be as little water as possible left in the yarn.
Now, add the dye solution to the water. Although there are no exact measurements, you’re looking to make a concentrated color. Like salt, you can always add more, but you can’t take any back. So, be careful when adding the dye.
Once the water has the dye in it, add the yarn in. Let it sit for a few minutes, before turning it over. You’ll want to repeat this a few times just to make sure it is well immersed. Next, turn the heat on, let the water simmer. You do not want the temperature to get too high, a light simmer is more than enough.
As your yarn absorbs the dye, you’ll notice that the colour of the water changes. If it becomes too light, add more dye. This happens because the yarn absorbs the dye and takes it from the water.
Flip the yarn around every five minutes or so. You want it to be equally covered. Let the product simmer for around 30 minutes. This will ensure the dye has settled into the yarn.
Rinsing the yarn
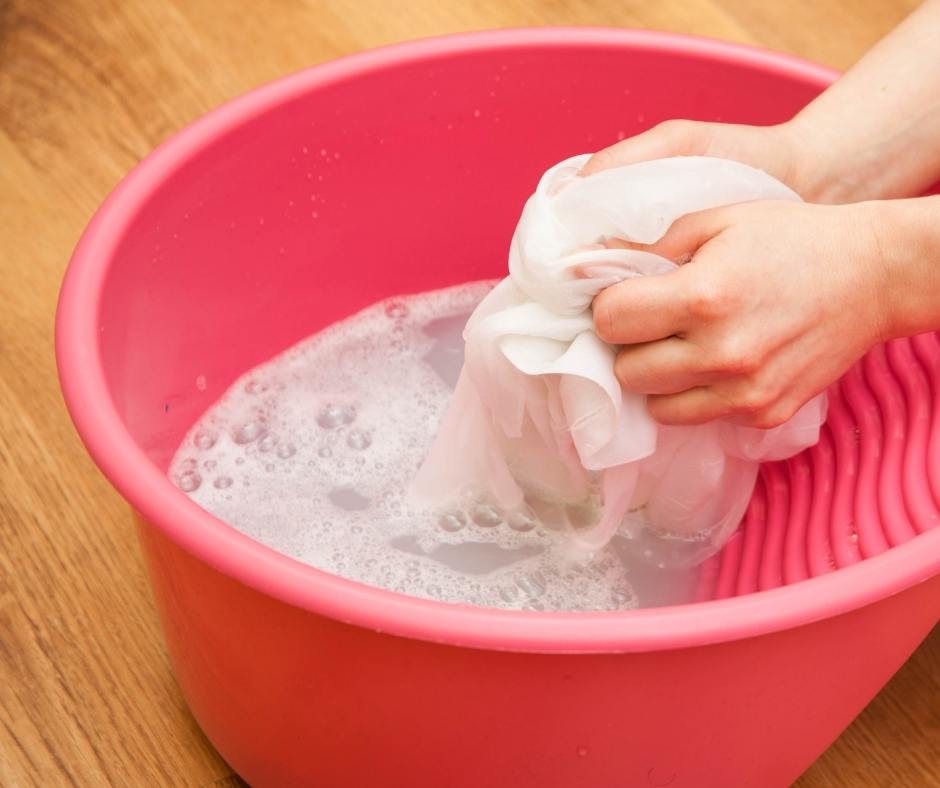
Once you’ve let your yarn simmer for thirty minutes, it’s time to take it out. Be very mindful of what temperature water you’re going to use for the rinsing process. It should be similar to the water in the pot, as to avoid temperature shock.
Take the yarn out of the water. Then rinse the yarn gently underwater. You’re going to want to agitate the yarn as little as possible. Be gentle and don’t shake it too much. Once you have rinsed the dye off, you can then hang it up to dry.
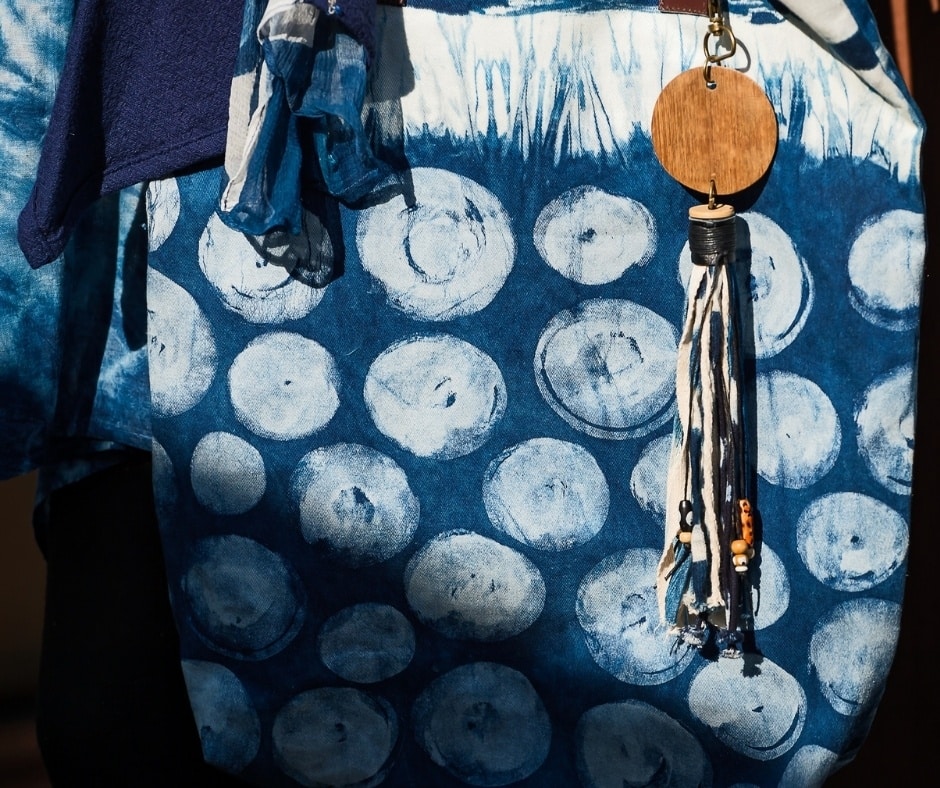
I like to put a bit of newspaper under the yarn. That will catch any drips of dye that are still left inside. Once the yarn is dry, you will have successfully dyed your product! Well done!
Can you dye wool 100%?
Yes, you can absolutely dye wool. If you have the right dye and follow the above steps, the process should be easy. It only takes around 45 minutes – an hour to create dyed wool. If you’re using acid dyes, this dye also lasts you a long time.
How do you avoid shrinking wool when dyeing it?

Wool shrinks because the fibers go into temperature shock. Temperature shock is when something changes temperature very quickly. The wool shrinks when it goes through this process. No matter cold or hot, both will have a similar shrinking effect.
To avoid temperature shock, you want to keep the temperatures consistent. That’s why you should warm up your wool inside the water. This avoids the wool changing temperature too quickly and going into shock. If you slowly heat the water, you should be able to avoid this.
Note that the same process needs to happen when cooling down the wool. You don’t want to rinse the wool with freezing water, or it will go into shock. Try and keep your temperatures consistent throughout the whole process!
Which dyes work best for wool?
Several different dyes work well with wool. It is an easy textile to dye, which is great! Let’s talk about three of the best dyes.
First up, Fiber Reactive dye is a fantastic pairing with wool. Fiber Reactive forms a covalent bond with protein fibers. The protein fibers make up wool, so it will easily bind. This allows you to dye with minimal hassle.
Next on our list are acid dyes. These also work really well, especially for wool. Although they are acidic, they are mostly non-toxic, so don’t worry too much. Always check the label. Acid dyes come in all sorts of colors, which is useful for you! They bind well with protein fibers, dyeing wool easily.
Finally, Lanset dyes are also a great dye for wool. Technically, Lanset dyes are actually a group of dyes. They all work together to dye a product. Considering that there are a few different agents on the go, this dye is very strong. Out of all of the dyes on our list, these will last the longest. If you’re looking for something permanent, go for these.
Conclusion
If you’re wondering how to dye wool, the process if fairly simple. If you read through this tutorial, you’ll we break it down into three steps. First of all, prepare the wool. Then apply the dye. Finally, just rinse and dry the dyed wool. It’s easy as one, two, three.