I was browsing around Dollar Tree trying to get ideas for some easy, cheap and most importantly cute DIY Christmas ornaments.
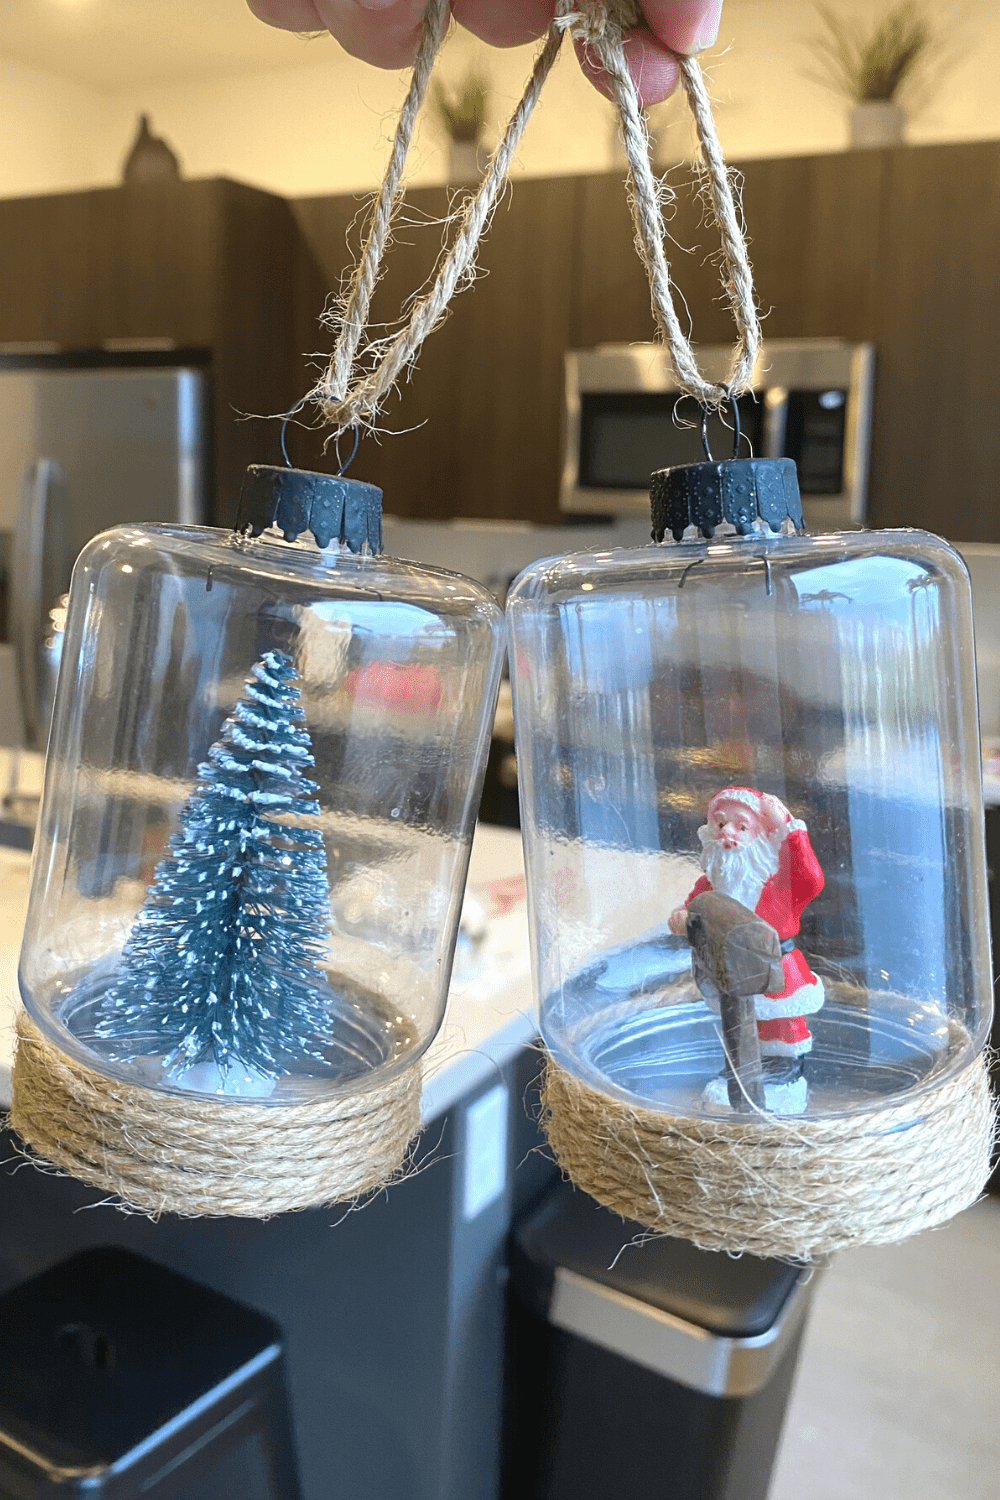
The first thing I stumbled upon were some plastic containers that almost looked like mason jars. They were light which was important for hanging and the perfect size to fit a small figurine.
Lastly, I added some twine and spray paint for the finishing touches and they came out great. I hope you enjoy them as much as I do.
In This Article We'll Discuss
Here’s What You’ll Need
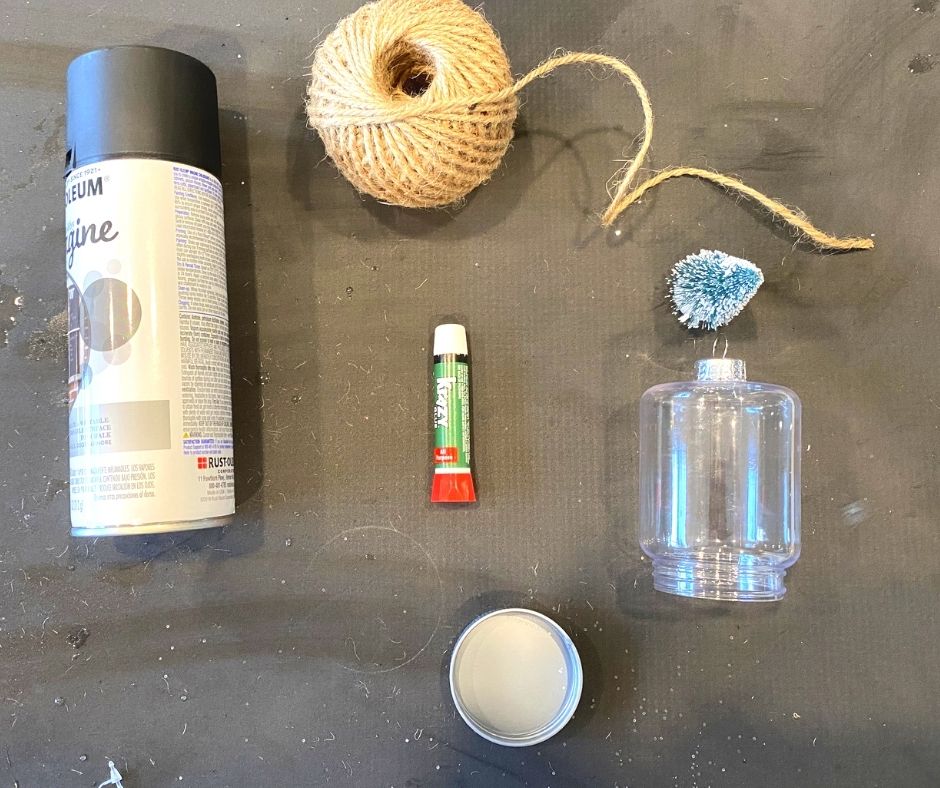
- Twine – This is for hanging and to add a decorative touch on the base of the ornament. You can replace this with your preferred material.
- Super Glue – or any strong glue that works well with plastic. Super glue may not be the best choice here but I already had some at home and went with it.
- Black spray paint – this step was optional but I felt it give it a little extra pizzaz. Again you can add your own preferred color paint for this one.
- Small Figurines – The jars were small so just make sure the figuring you pick will fit. Taller figurines work well for these size jars.
- Small plastic jars – plastic is light and works well for this project. A glass mason jar might work but it will weight down the tree branch you put it on.
How to Make Them
Step 1
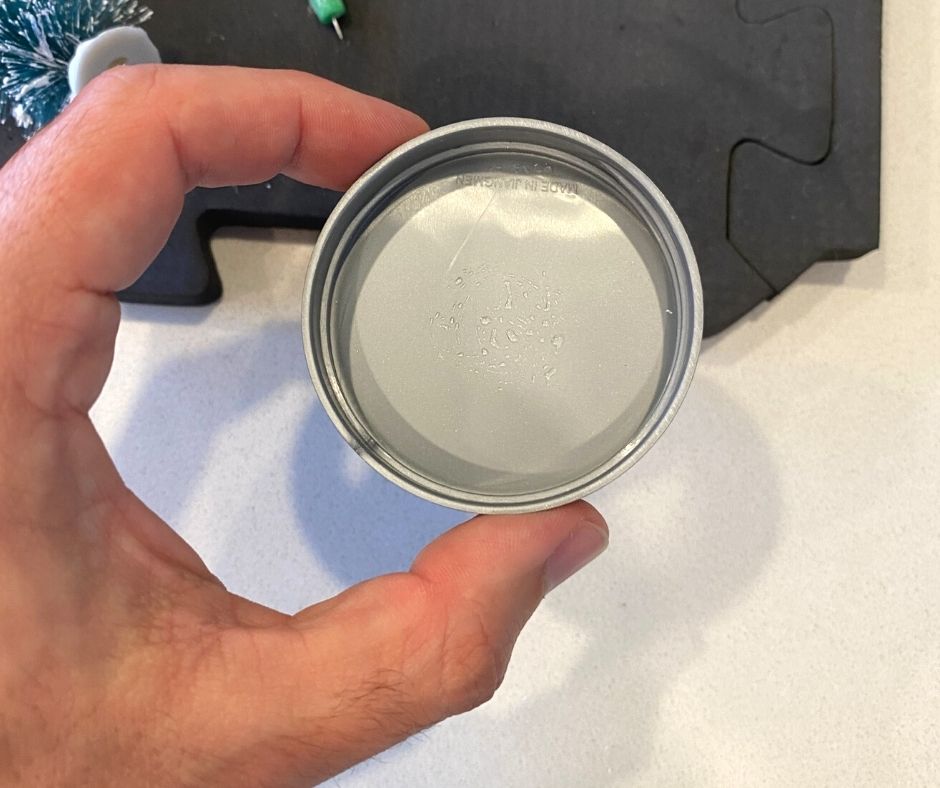
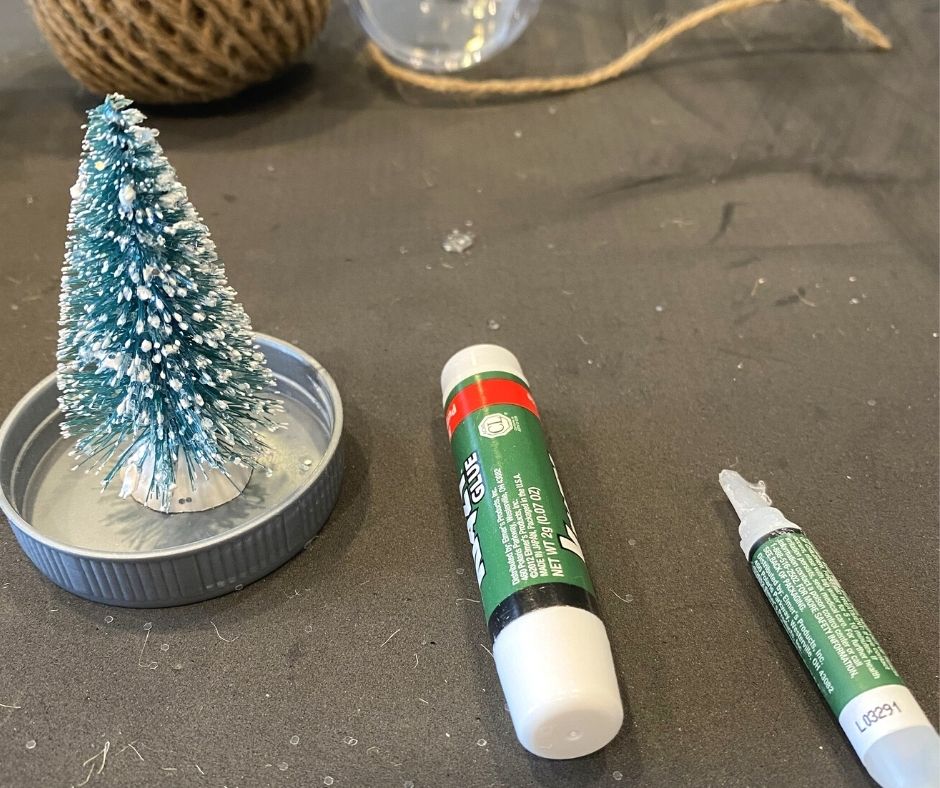
Add super glue to the base of the jar. Make sure it’s enough to stick on your figurine well. Try not to add more than you need or else it will come out on the sides and show. Then place the figurine inside the jar and wait for it to dry. Follow the drying instructions on your glue.
Step 2

If you are going to be spray painting any part of your ornament do it now so you can let it dry before you will be using it.
Step 3
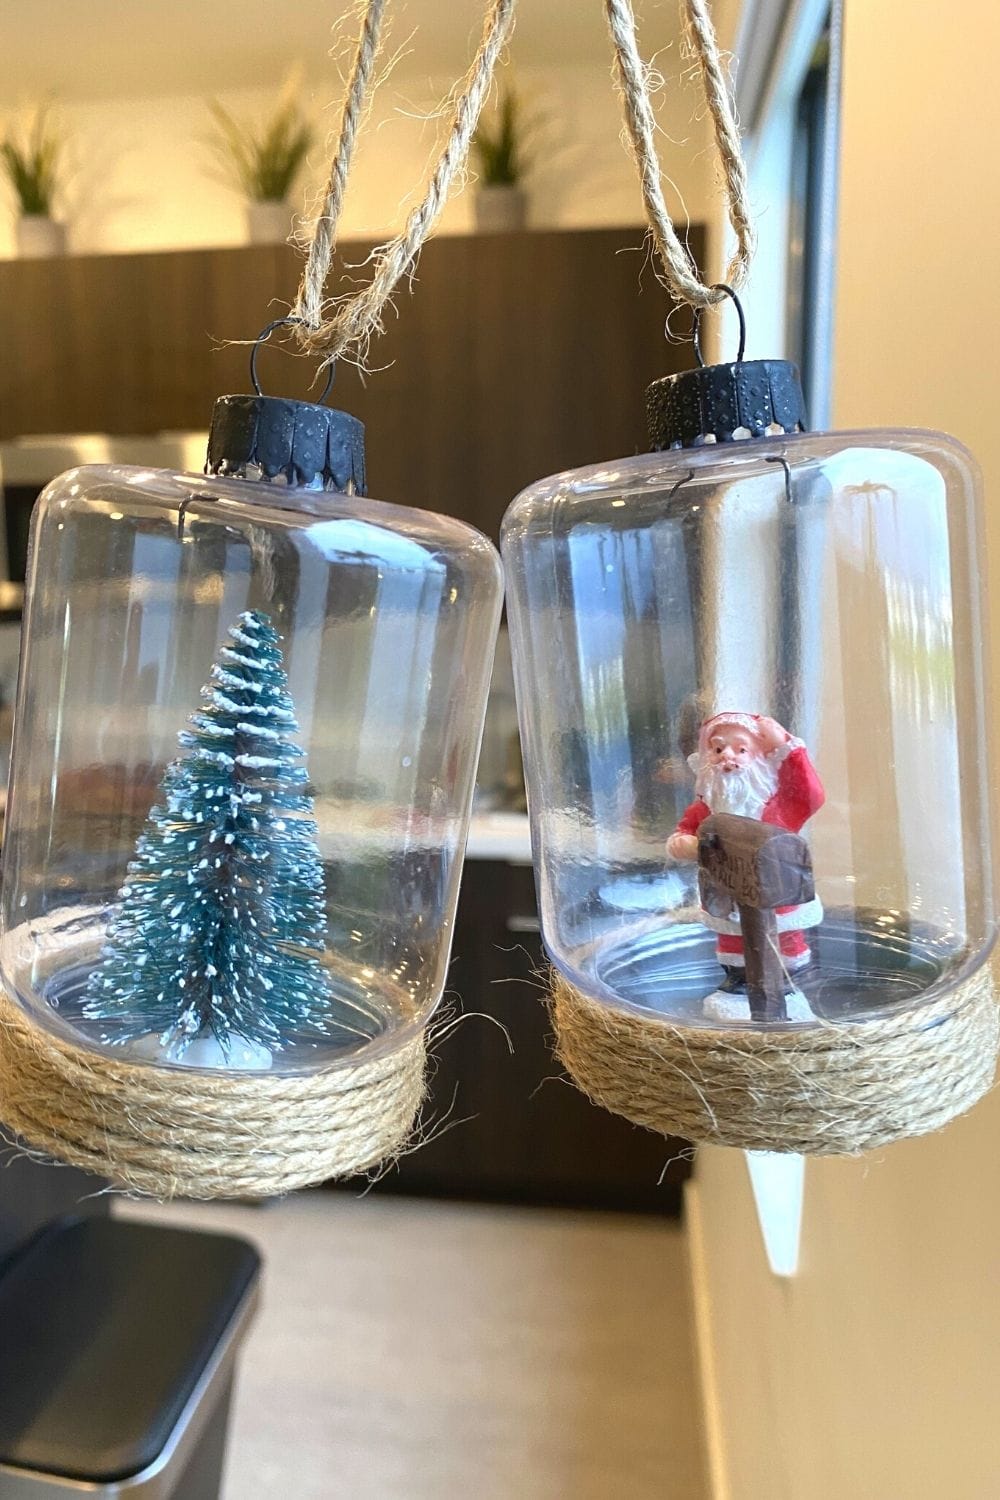
Twist on the lid of the plastic jar with the figurine attached. It’s slowly starting to come together at this point.
Step 4
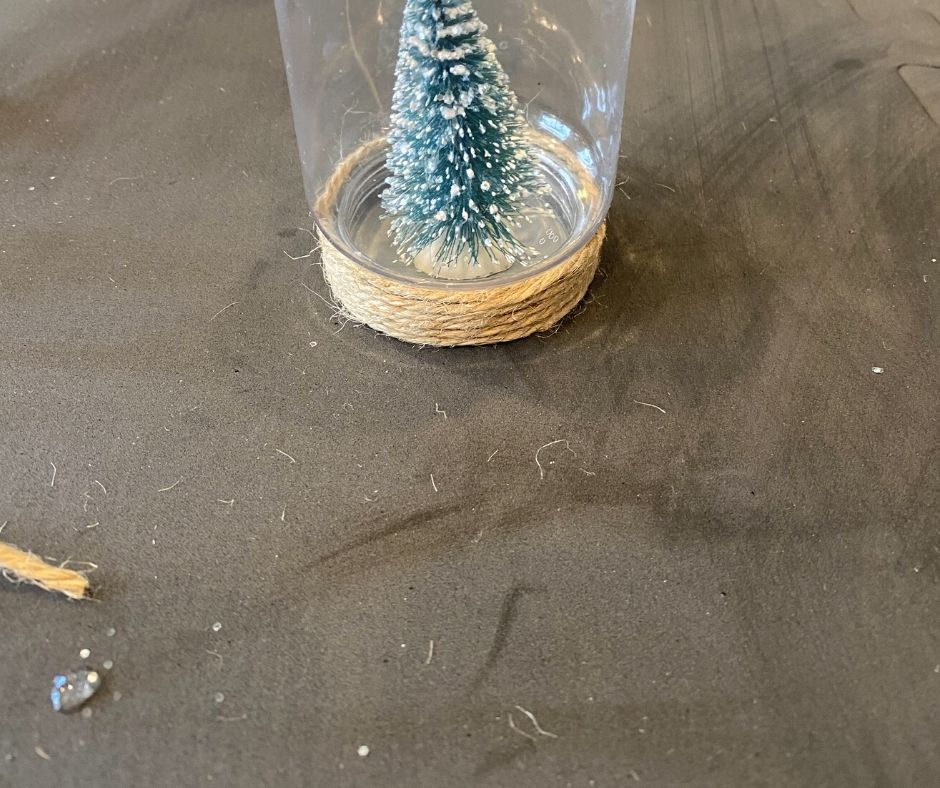
Wind up the twine around the base of the jar to measure out how much you will need. Make sure you get a tight fit so you can’t see the lid through it. After you’re happy with your measurement cut off the piece you will use.
Add some super glue or your choice of adhesive to the plastic lid. Firmly hold the first strand you put down so they rest will stay in place. After it was all on I just held it in place for a few seconds and it remained there.
Step 5
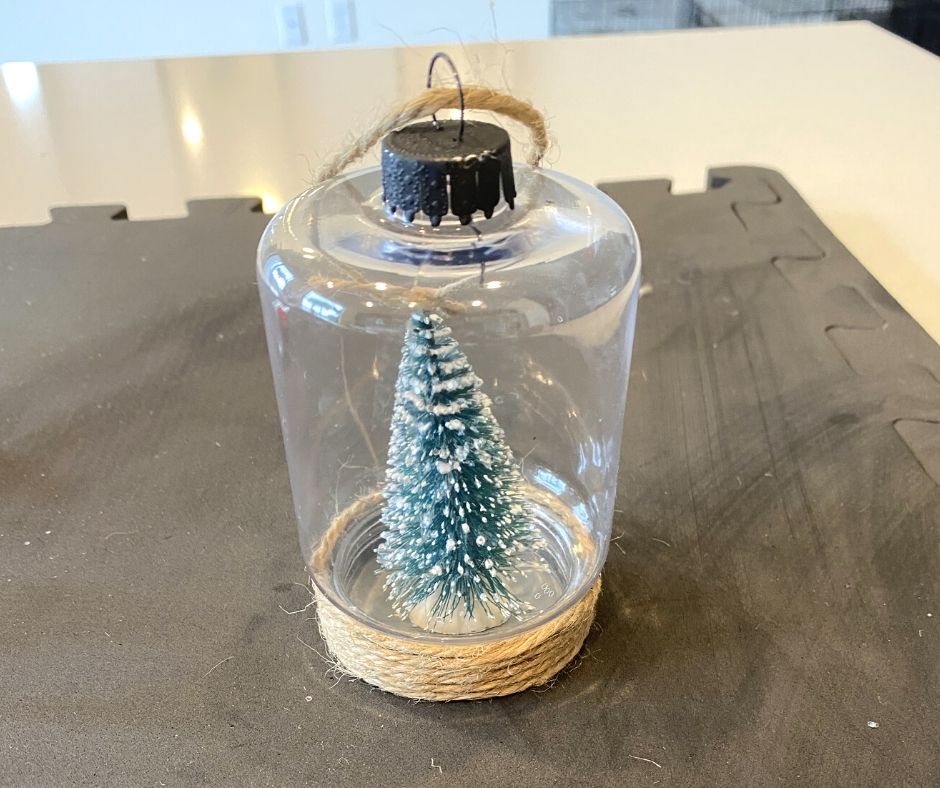
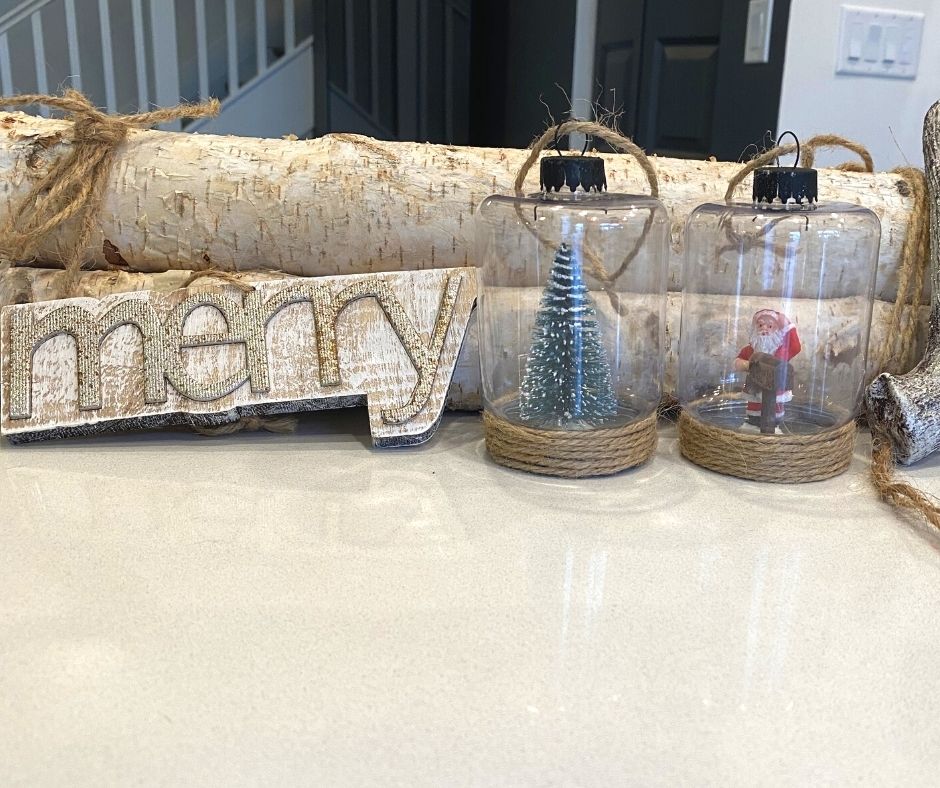
Add the ornament’s hanging piece back on and your beautiful new decoration is ready to go.