There’s nothing like getting in the Holiday spirit than a fun DIY Christmas projects with some holiday music playing.
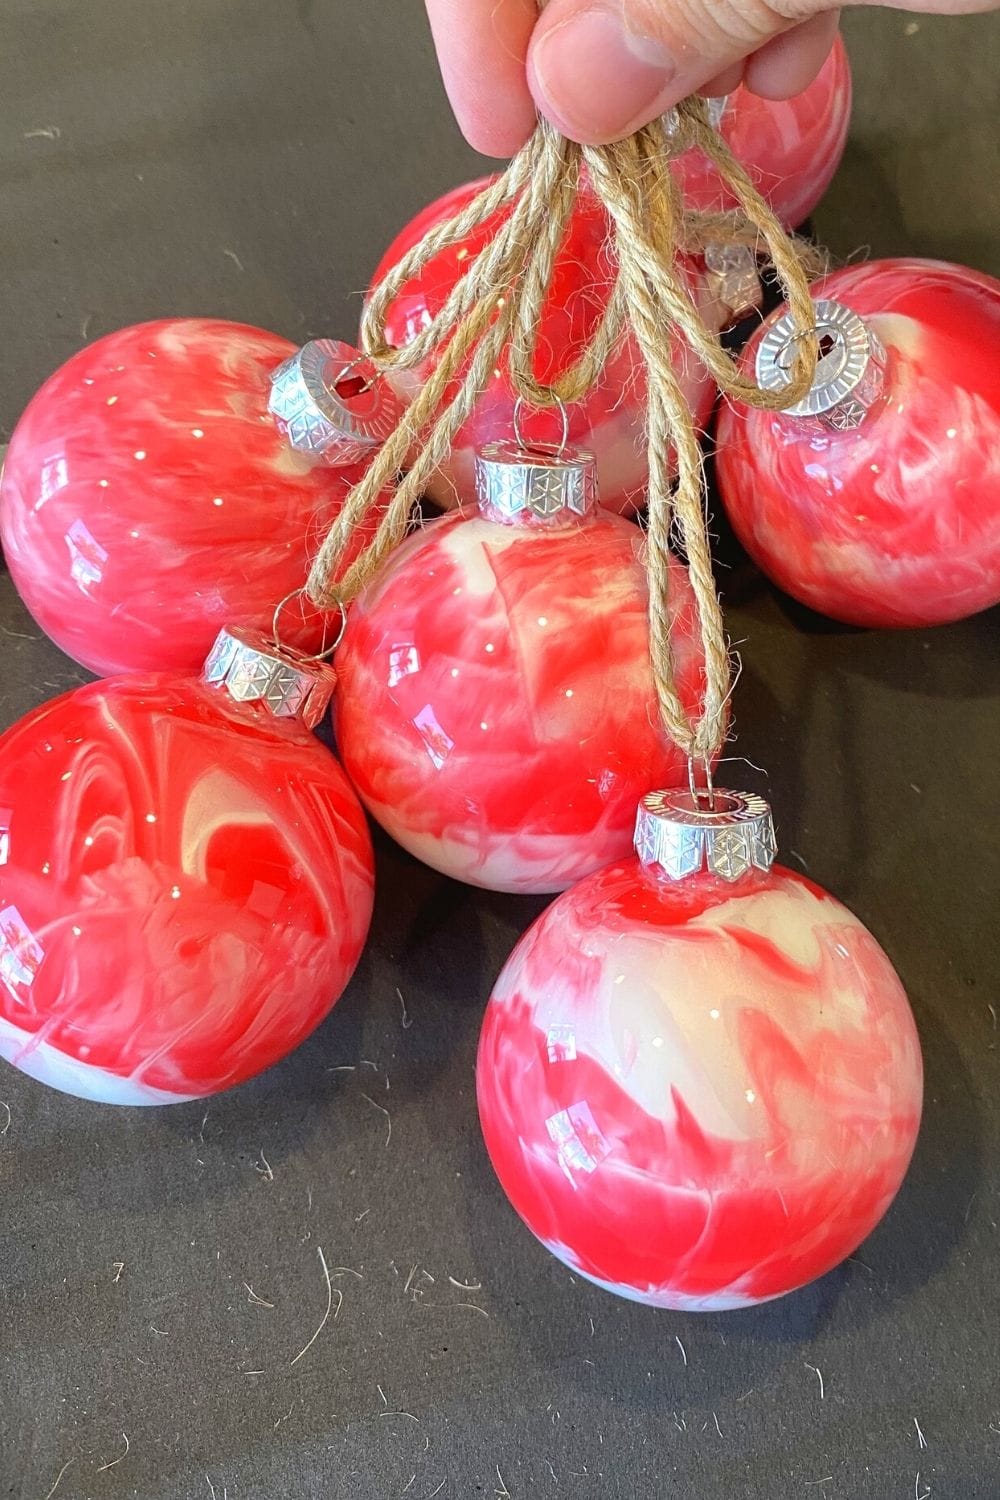
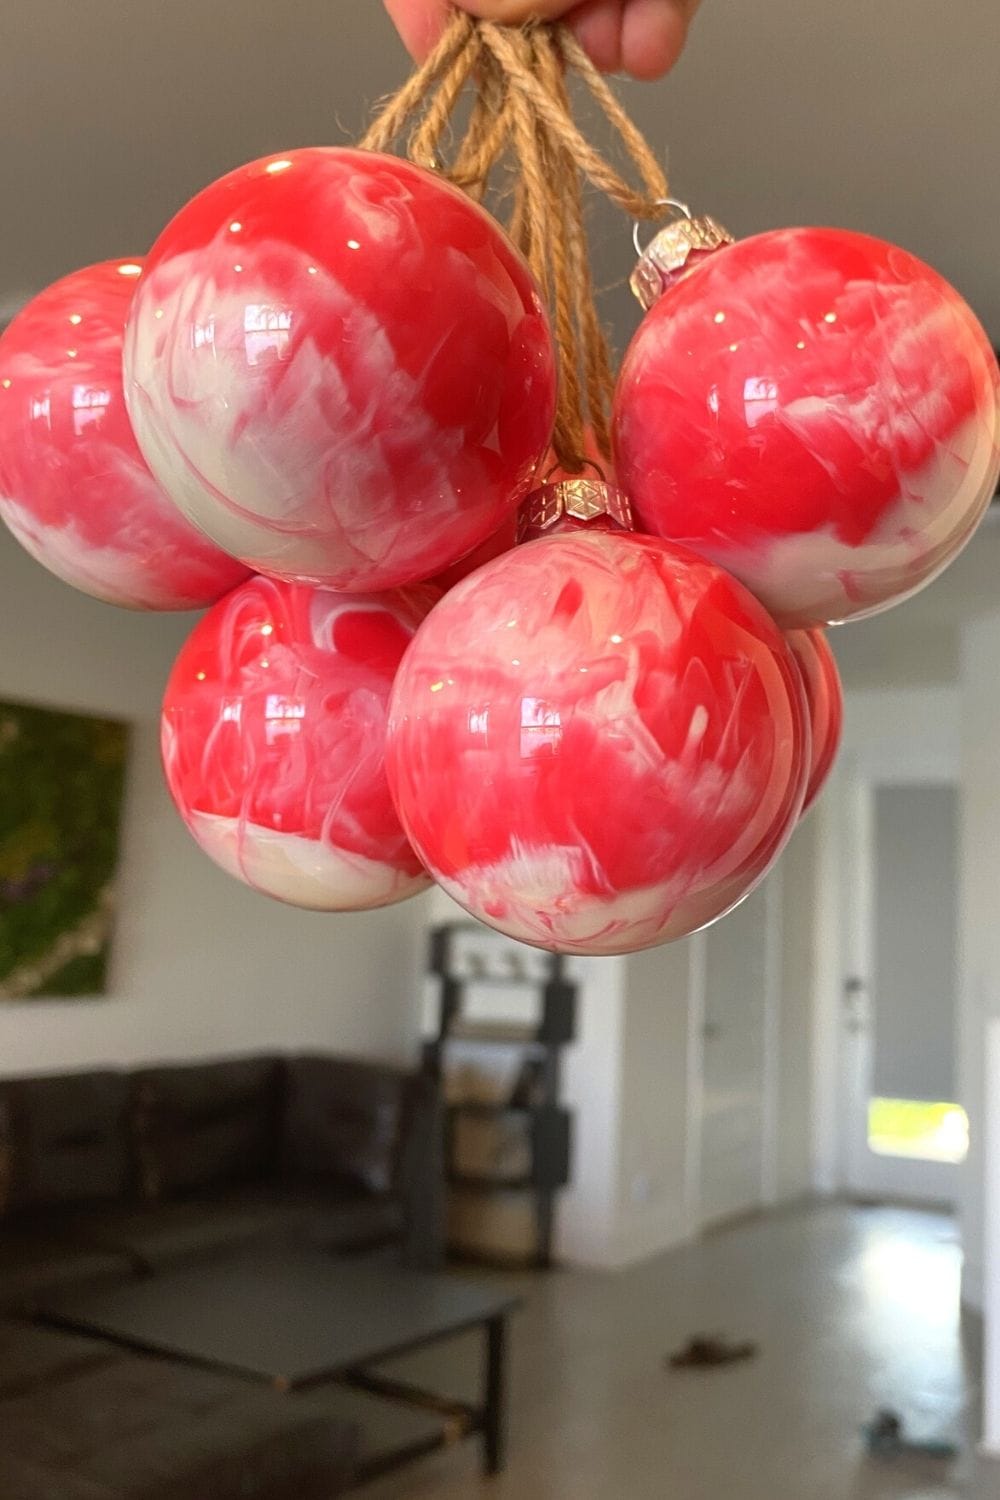
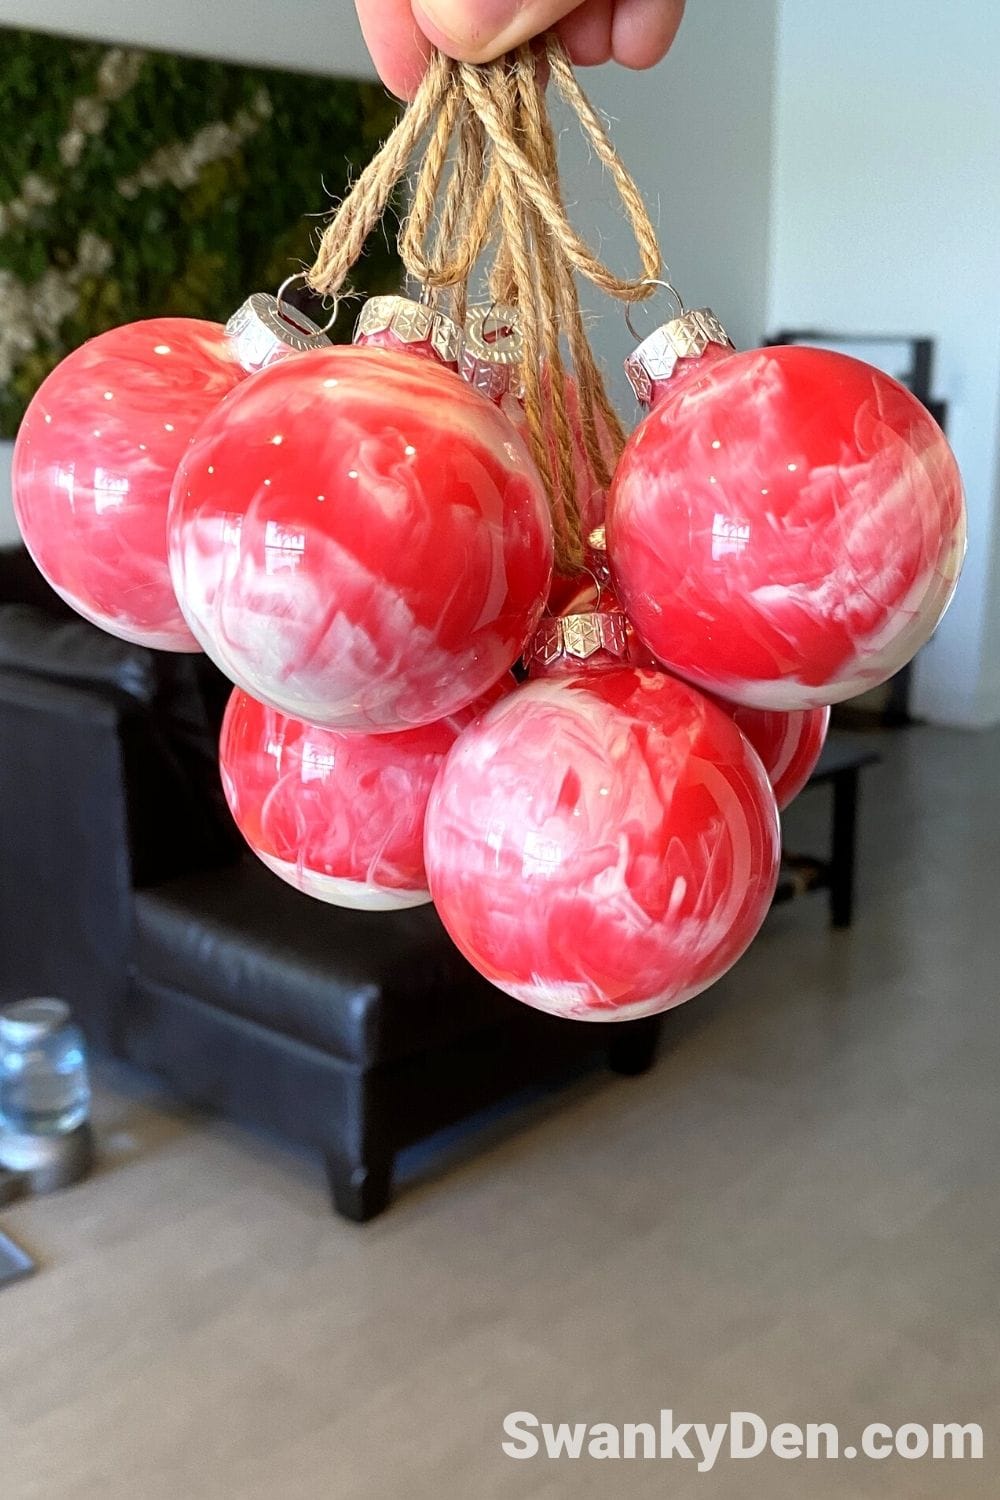
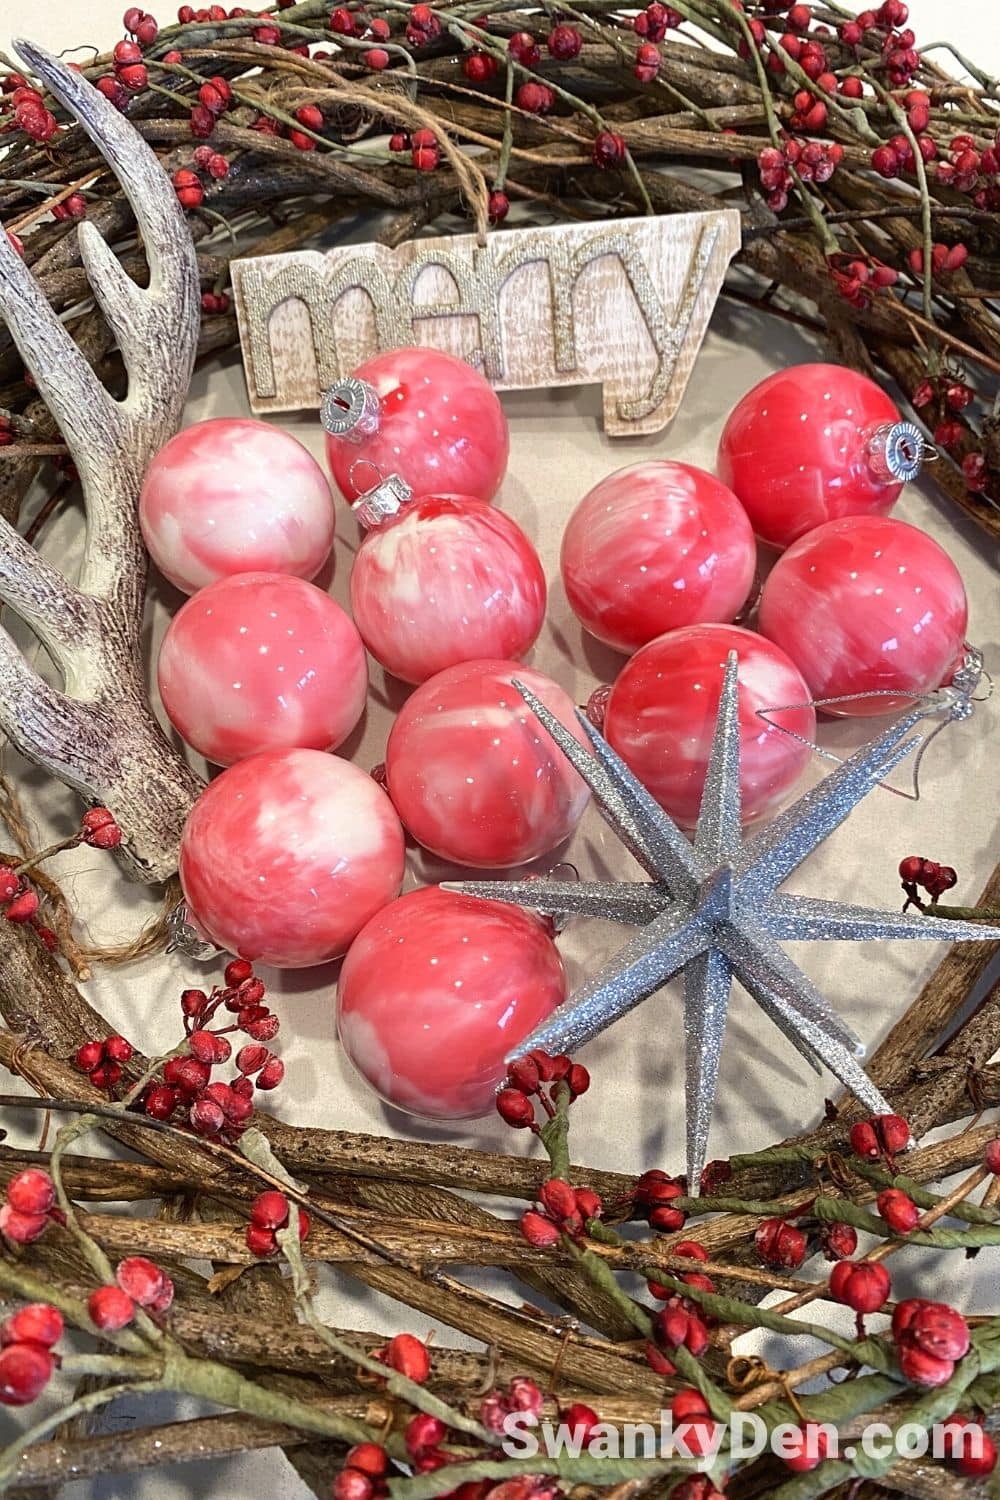
These marble Christmas ornaments that I made ended up looking so good I could eat them like sweet candy.
It was very affordable buying the supplies to make them and not too much work at all.
In This Article We'll Discuss
Here’s What You’ll Need For These Marble Ornaments
- Acrylic Paint – 3 Colors. I used Red, White and Pearl shimmer. I wanted to go for a “candy cane” look for this year’s Christmas tree. I purchased them at Walmart but any hobby store or Target typically has these.
- Ribbon or Twine to hang them – I have a rustic vibe going for my Christmas tree so I purchased twine to hang them but any pretty ribbon will work fine. They’re not heavy.
- Thin wooden sticks – or anything you can fit inside. It makes it easier getting them paint around as you get them marbled.
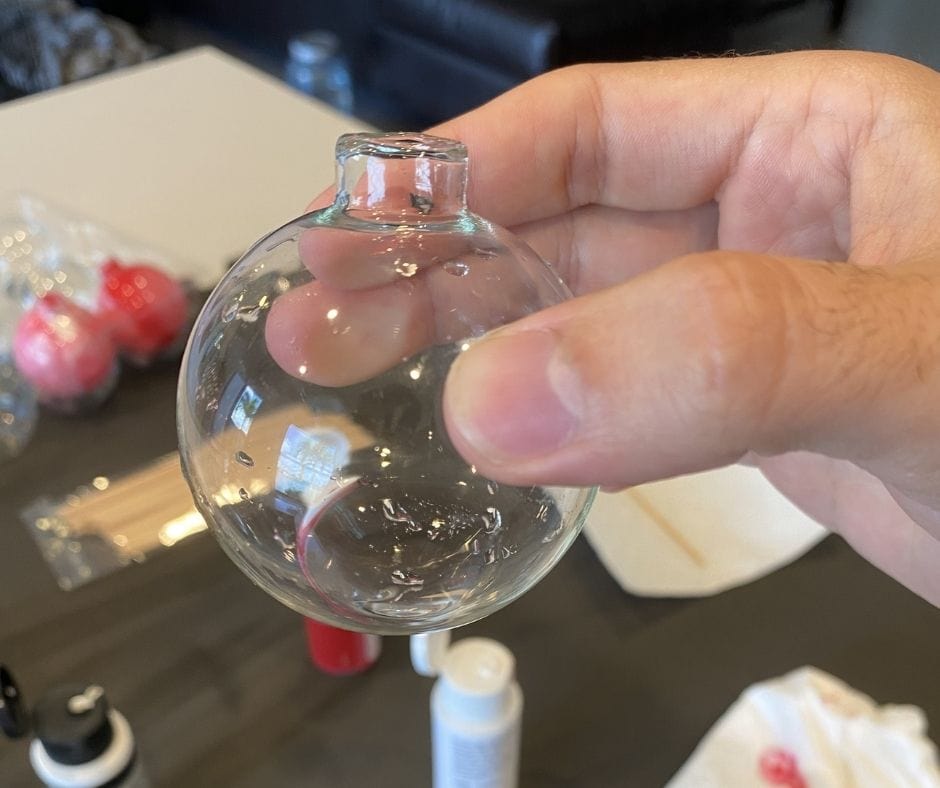
- Glass or Plastic baubles – I ended up using glass ornaments but plastic will work as well.

The steps to make these are simple and straight forward. You’ll just follow the same process for each ornament.
Step 1
Swish a small amount of water inside the bauble. This will get the sides of the bauble wet and helps with the marble design.
Step 2
Drain as much water as you can out of the bauble. If you leave too much your paint will end up just running completely off the sides and look like this.
Step 3
Pour the paint into the the glass ornament. You can drop it all down the center or down the sides for different effects.
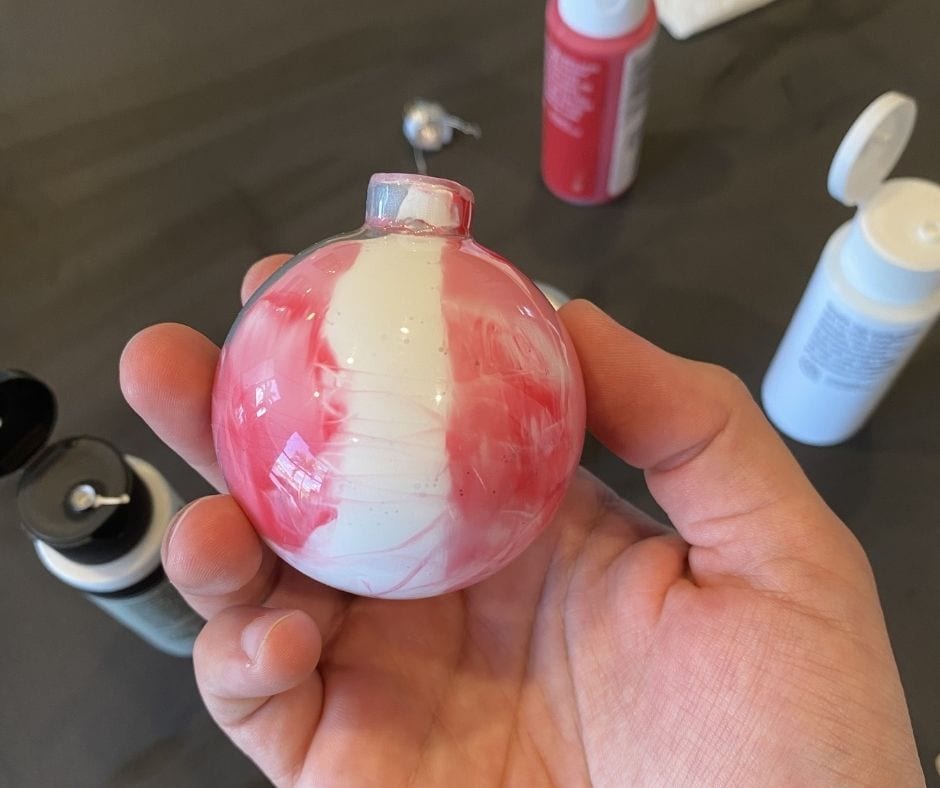
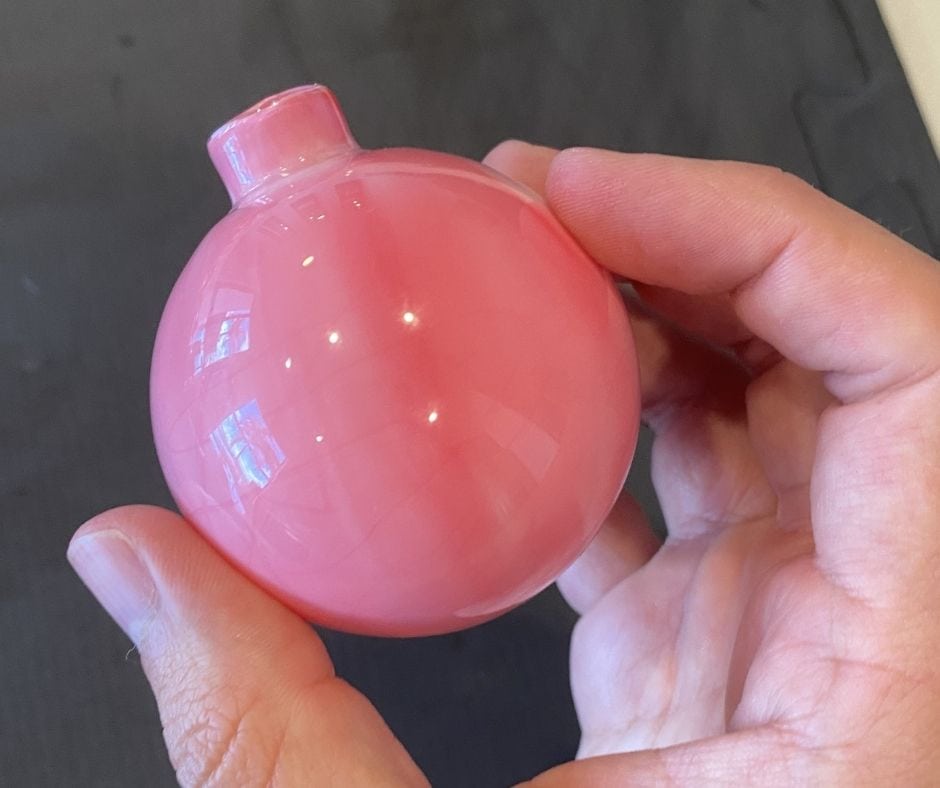
Step 4
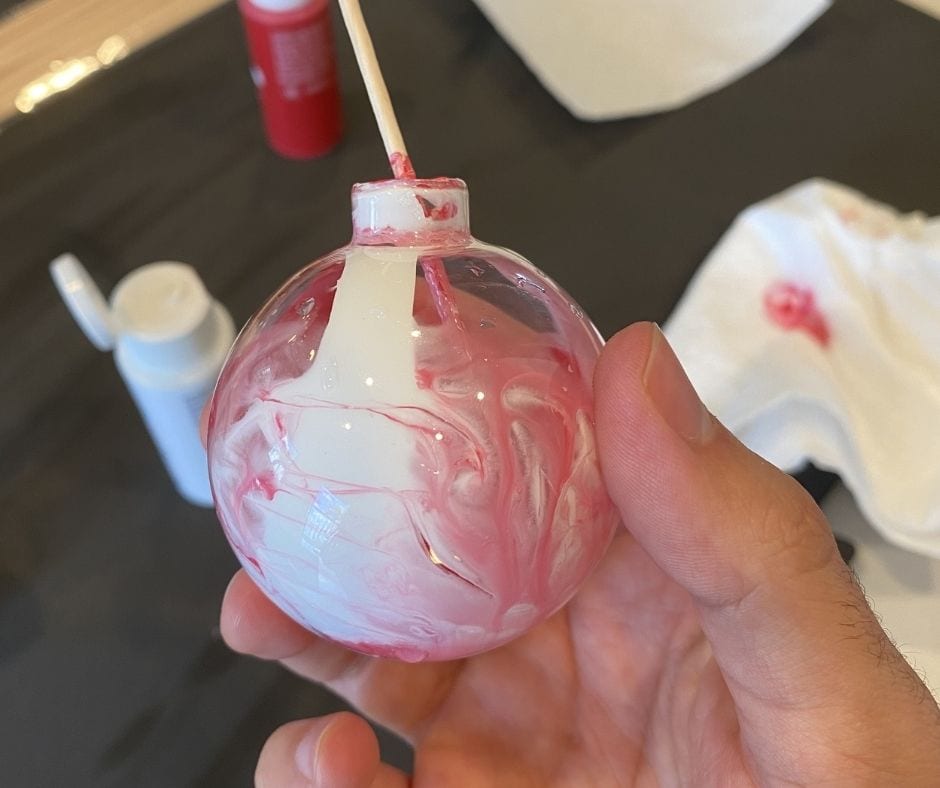
Slowly turn the glass ornaments to coat all of the inside. You may need add more paint half way to keep it spreading. Use a napkin on the open end it prevent it from spilling.
Use the wood straws here to help the paint get around. You may notice some streaking on the pattern like in the picture below. This will fade away once the paint starts setting.
How Much Did it Cost
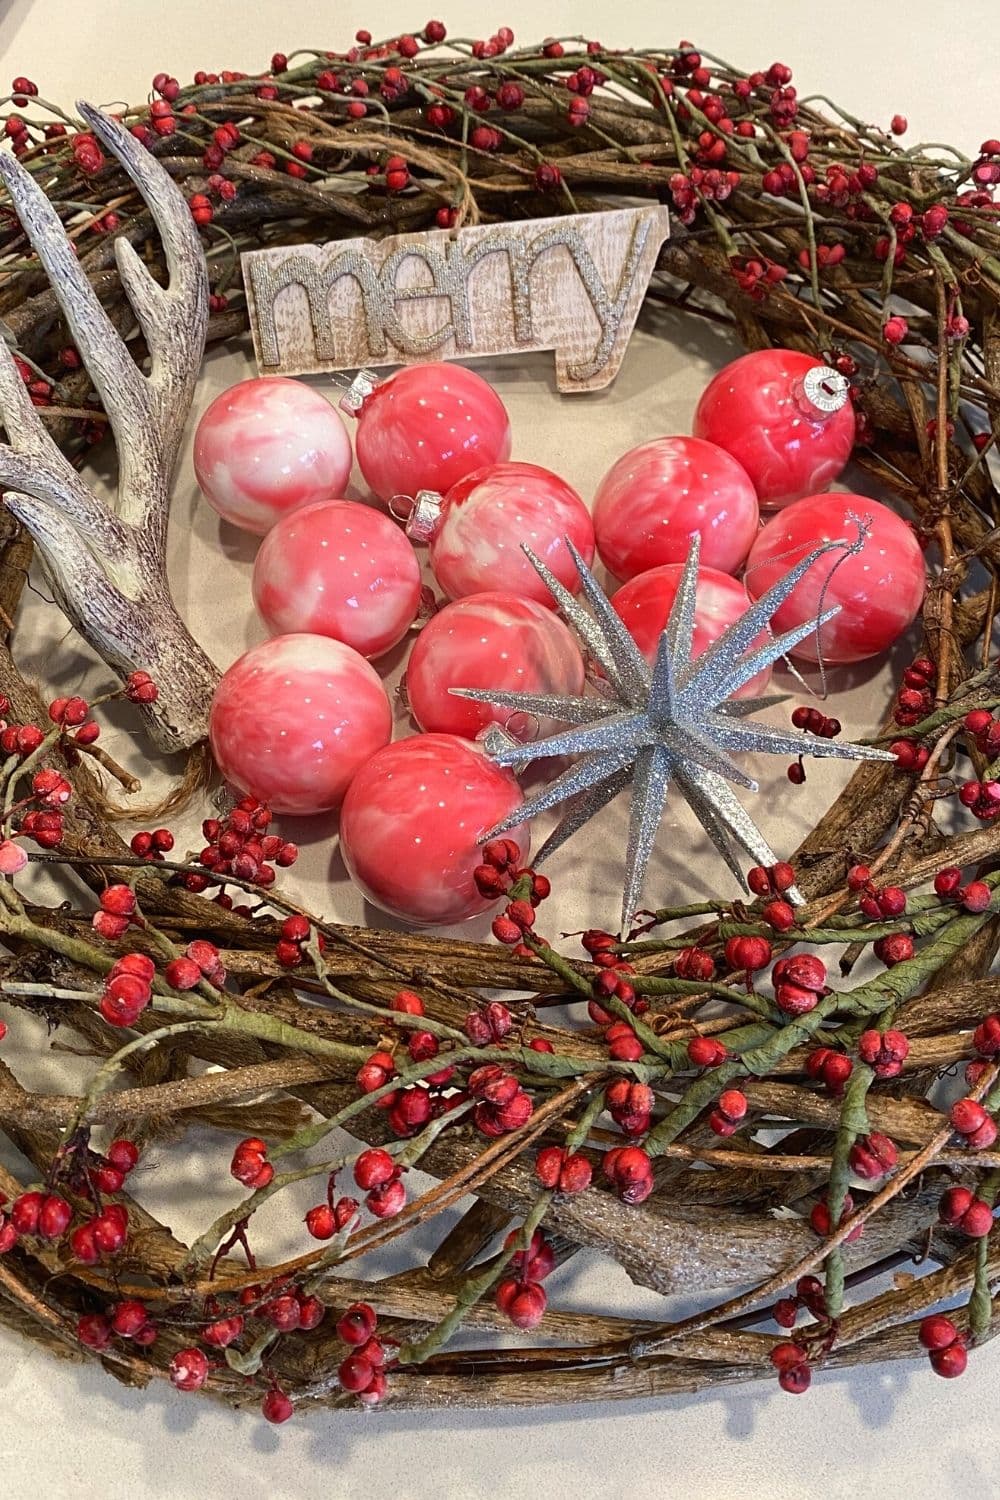
These ornaments look super expensive but the price was not. Some stores cary these styles of ornaments for as much as $85 for a set of 4.
Glass baubles were about $5 for 12 and the acrylic pains were $1 each and $2 for the shimmery pearly color. The sticks were also $1.
Helpful Tips
You can experiment in so many ways with different colors. Try using a color wheel to pick out exciting color combinations that you love and replicate this project.
Dark colors go a long way so make sure not to add too much if you’re combining them with light ones. A safe bet would be to stick to one strong color with two lighter and softer options.
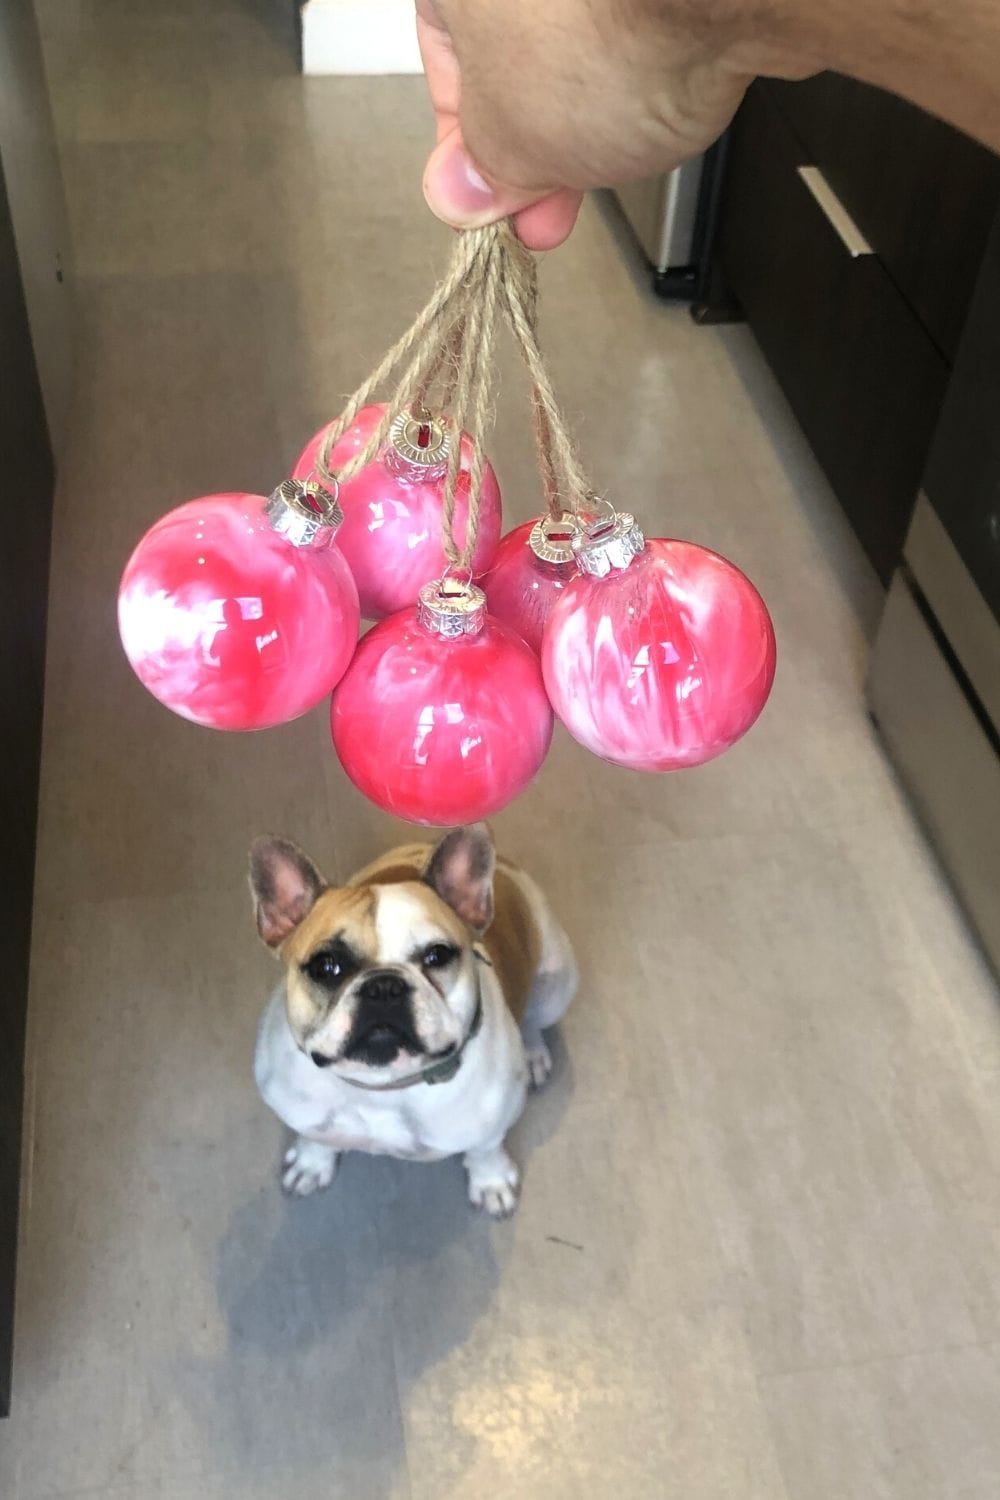
Shimmery or metallic paints really make this sparkle in the lights and I highly recommend having at least one in your combination.
I really hope you loved these as much as I do!